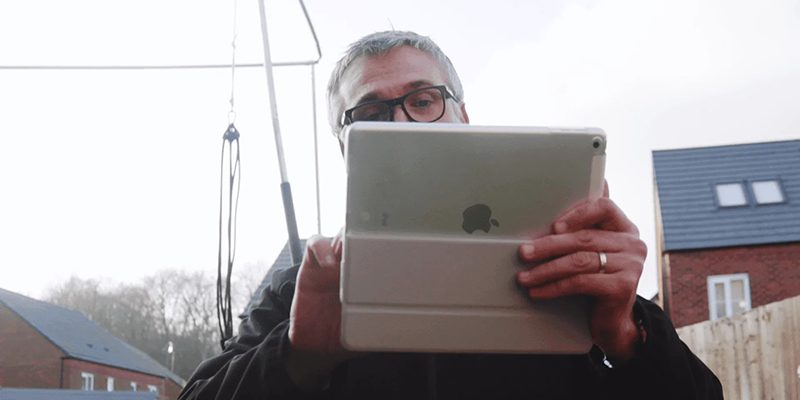
Our range of verandas and premium awnings provide an amazing addition to your garden, creating an outdoor living space perfect for quiet relaxation during the evenings, or for gathering with your family and friends. However, before you can design your veranda, it’s important that you accurately measure your intended space. The more accurate these measurements are, the more accurate the advice our experts can provide, and their initial quotations. Fortunately, taking these measurements is a relatively simple process, requiring only a tape measure and a little planning, and we have put together this easy guide to help you take correct measurements the first time:
Step 1- Confirm your height
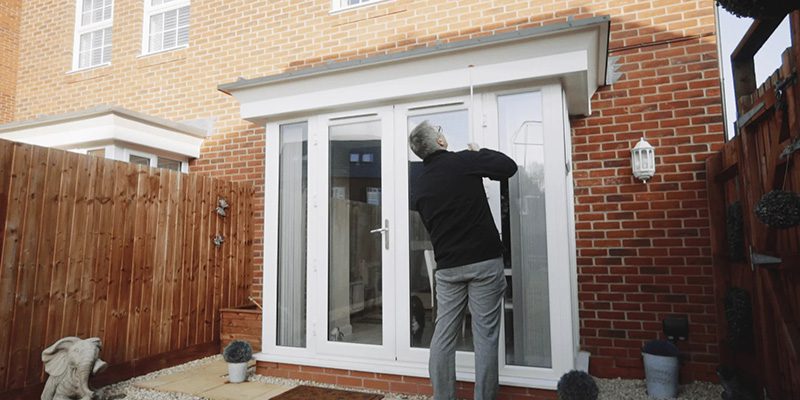
How tall do you want your veranda to be? How tall does your veranda need to be? Both important questions once you’ve decided where to place your veranda. The easiest fixing point to mount any wall-plates or cassettes is a clear course of brick, preferably with at least 16cm of clearance above any garden-facing windows or doors. Once you have found this point, place your tape measure on there, and measure all the way down to the ground. Our product ranges all make use of the metric system, so please be sure to write down all measurements in metres and centimetres.
It is possible to mount to properties with a smaller clearance, though this may require bungalow brackets or spreader plates. For properties with external rendering or fascia boarding, we would need to know precisely what was beneath the surface to confirm whether it is possible to fix any cassette or wall-plate there, or whether a freestanding solution may be more suitable.
Top tip: Place your thumb on the tape measure, halfway down the wall, to hold it in place. A fairly simple tip, but it can be useful should you need a higher fixing point!
Step 2- Calculate your width
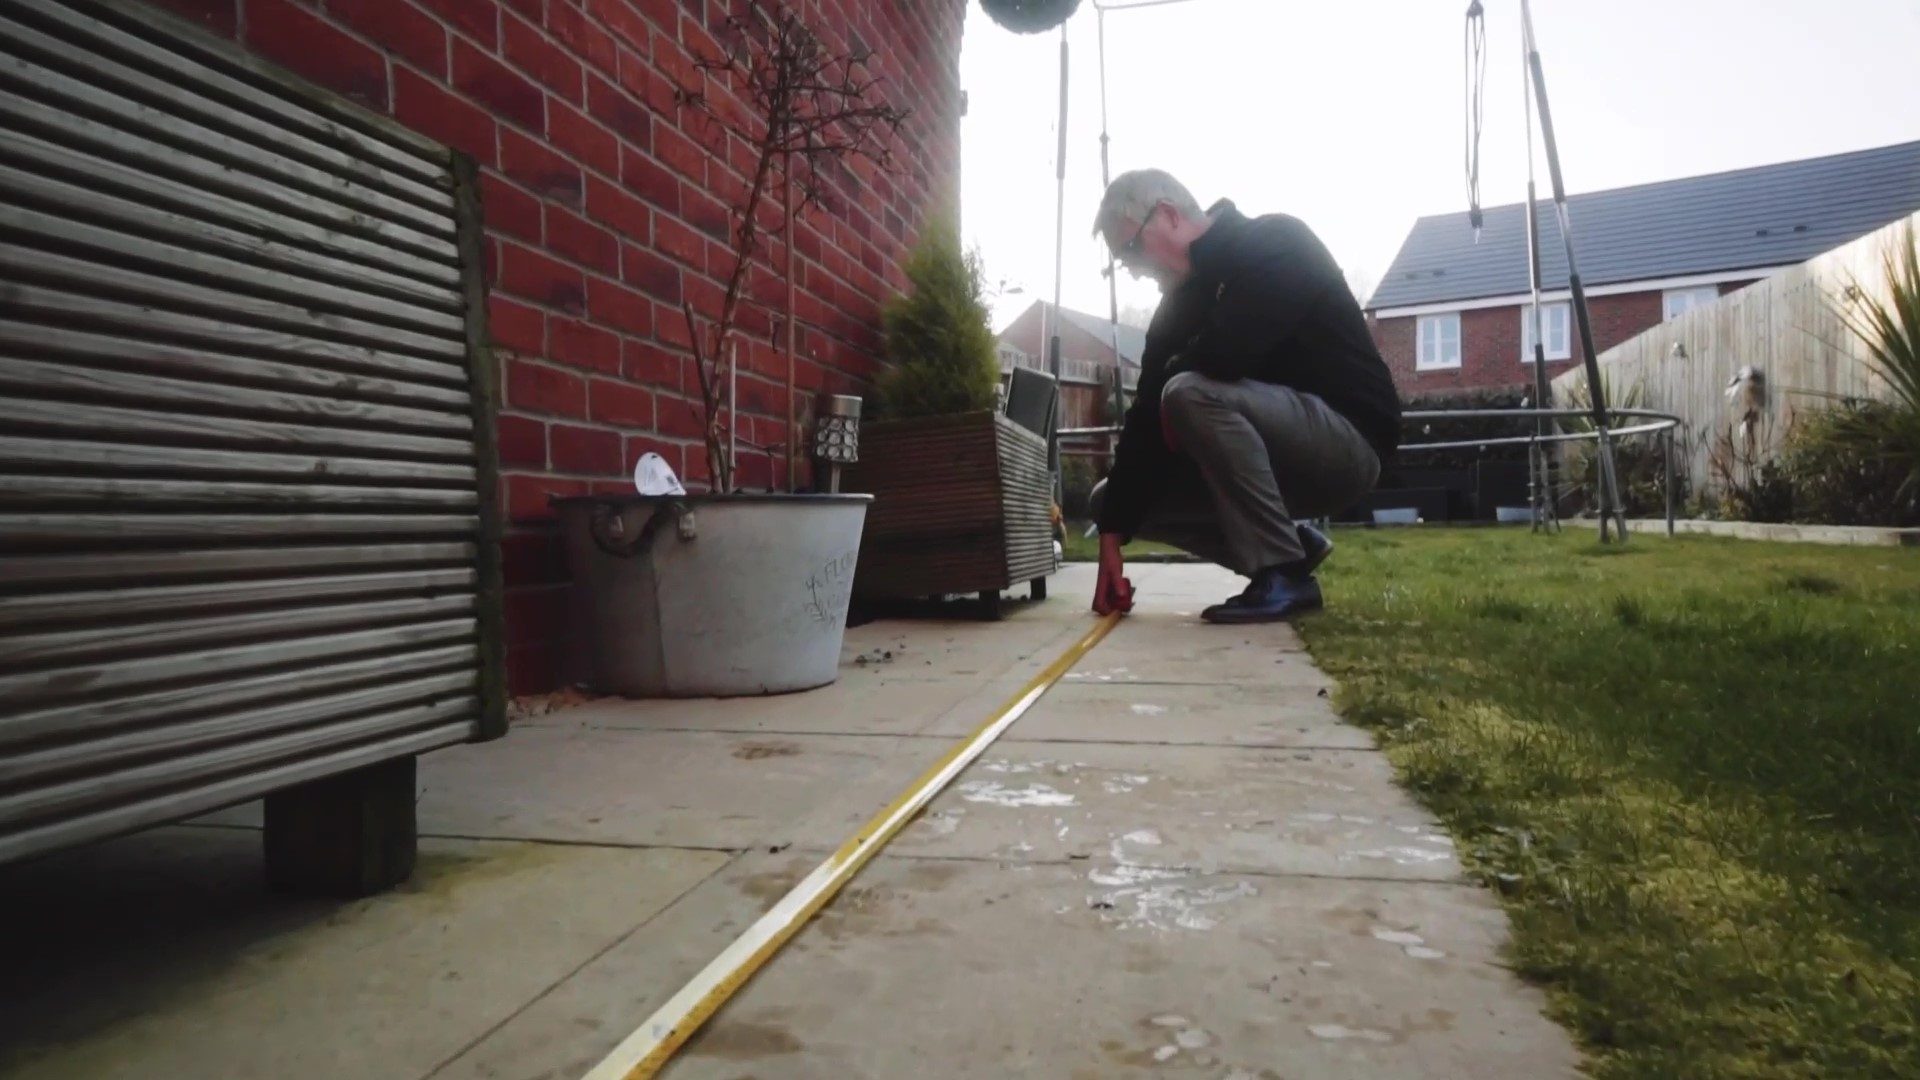
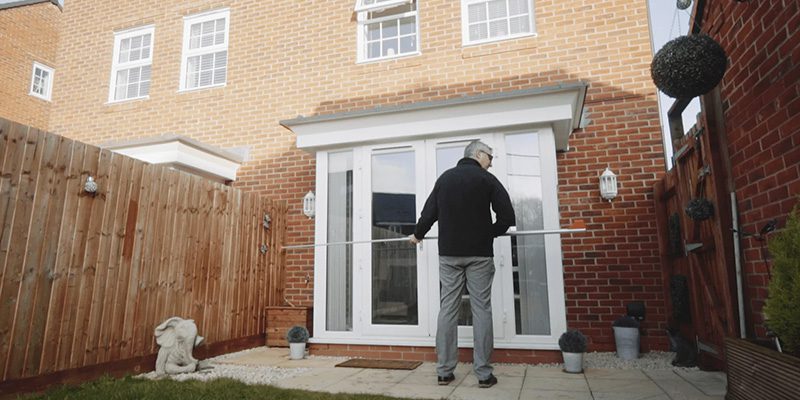
With the height confirmed, it’s time to determine the width. To determine the width, place the tape measure where you would like your veranda to start, then measure the entire length you are looking to cover. We advise leaving sufficient distance between any fencing or patio walls to ensure we can easily fit our wall-plate and posts or mount the cassette. Please be sure to take the measurement in metres and centimeters.
Step 3- Determine your depth
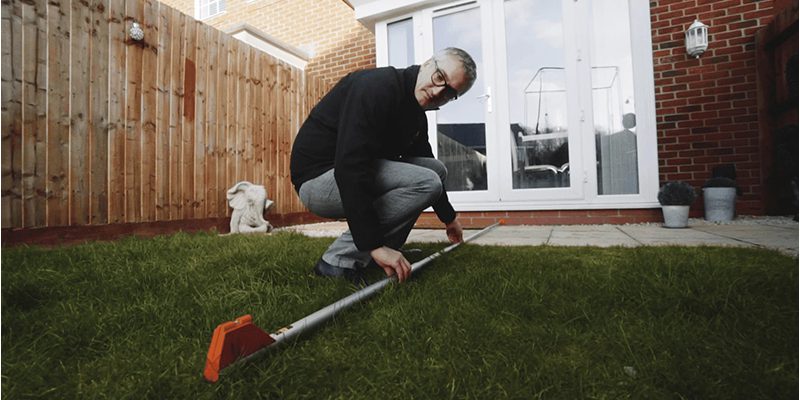
As with the width, determining the depth projection is entirely down to you. To measure your depth, start by placing your tape measure at the wall, or at the desired start point for a freestanding option, then extend it as far as you’d like your veranda to go. Note down your measurements in metres and centimetres. Our products are all bespoke and are manufactured to your specifications.
Top tip: Abstract sizes can sometimes be deceptive. Placing some string on the ground where you’ve measured your width and depth can really help you get a feel for the size of your intended structure. Take a walk around, make sure you’re comfortable!
Step 4- Take note of any obstructions
Noting any potential obstructions is crucial when taking measurements for your veranda or outdoor living space. This can help us confirm what work will have to be done to complete the installation. It can also determine the viability of the project, whether a smaller size or a greater pitch is needed, or whether a freestanding structure may be needed rather than a wall-mounted one. It also determines whether additional products, such as spreader plates or brackets, are required to provide support or the required clearance to properly mount the cassette or wall-plate.
Obstructions come in all shapes and sizes. This can range from garden features, such as trellising and hanging baskets, to Sky or Virgin Media cabling, or guttering and soffits. It is vital to account for any underground drainpipes, any surface drains or manhole covers that may affect the installation of our posts, and to provide any accurate description of the ground where the veranda will be mounted. It is also necessary to any outward-opening doors or windows that may affect the fixing point or pitch, or potentially reduce the options available to you when designing your outdoor structure.
Some obstructions are quite simple to resolve. Outdoor lighting can be remounted, while boiler flues can be sorted by fitting an extension kit (available from your builders’ merchants, such as Toolstation and Screwfix), while we will fit one panel with a glazing split and an acrylic infill. Noting any potential obstruction that is inside the space your veranda will cover is important for us to furnish you with an accurate quotation, and provide advice tailored to suit your space.
Step 5- Photograph your space
The final step, equally important to the others, is to take plenty of pictures of your intended space. It is advisable to cover every angle, photograph every potential obstruction to a successful installation, and anything else that you feel it would be helpful for us to know. Most importantly of all, we advise that you take pictures of the walls and ground where you would like your outdoor solution fixed.
That’s all there is to it. In five easy steps, you’ve supplied everything our experts need to provide you with honest, impartial advice and prepare an accurate quotation for your outdoor living space. Once we have received these details, we will be in touch to talk you through the different product options, and to offer advice on how to best achieve your dream outdoor space at a competitive price. We will prepare and send out your quotations via email, and we’re always ready to answer any questions.
Please click here to view our simple, five-step measuring video guide, or if you’d like us to visit you in person, you’re welcome to book a free home design visit here.
