Verandas have surged back into fashion over the last few years, and small wonder. They enhance your outdoor living space, providing the perfect multi-purpose area where you can relax, entertain family and friends, or use as an outdoor dining space and kitchen, all while enjoying your garden and the beauty of the British summer. They’re also easily installed in a comparatively short span of time, with a modular nature that allows you to enclose your space at any point, and they do not create a fraction of the mess — or the stress — that comes with building a conservatory or an extension.
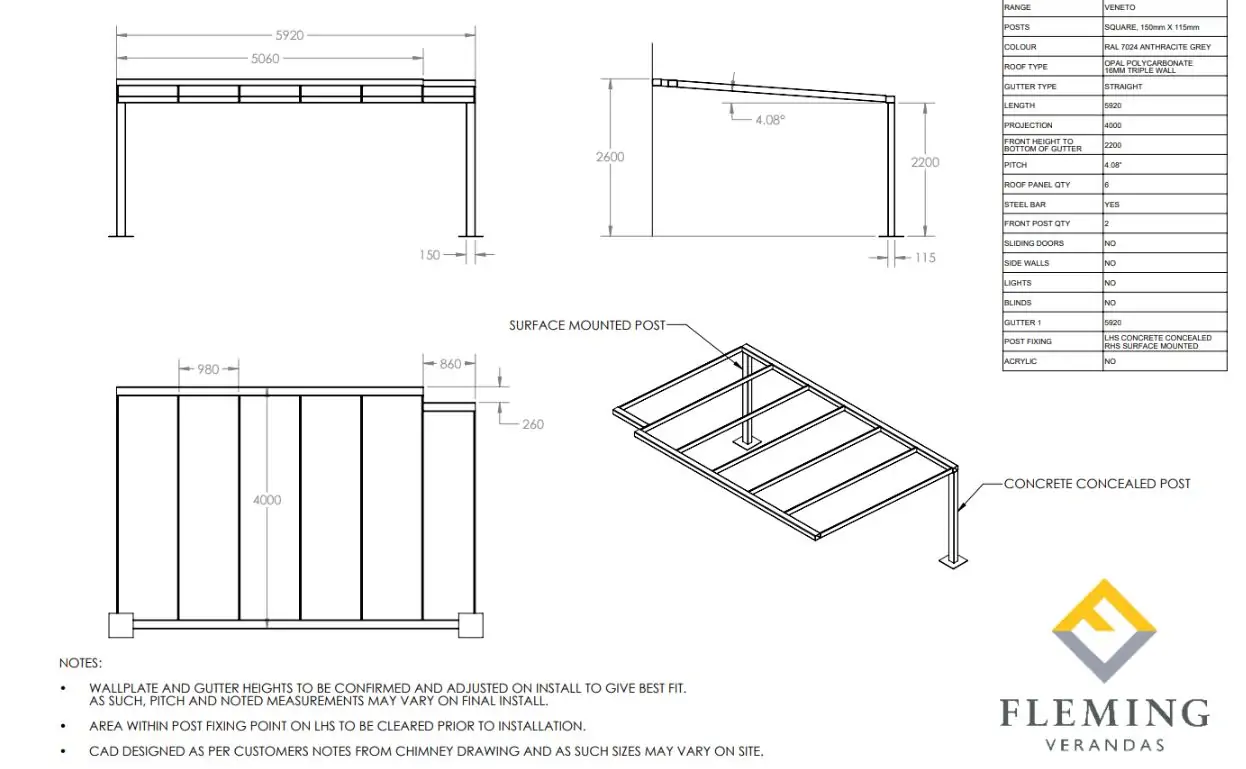
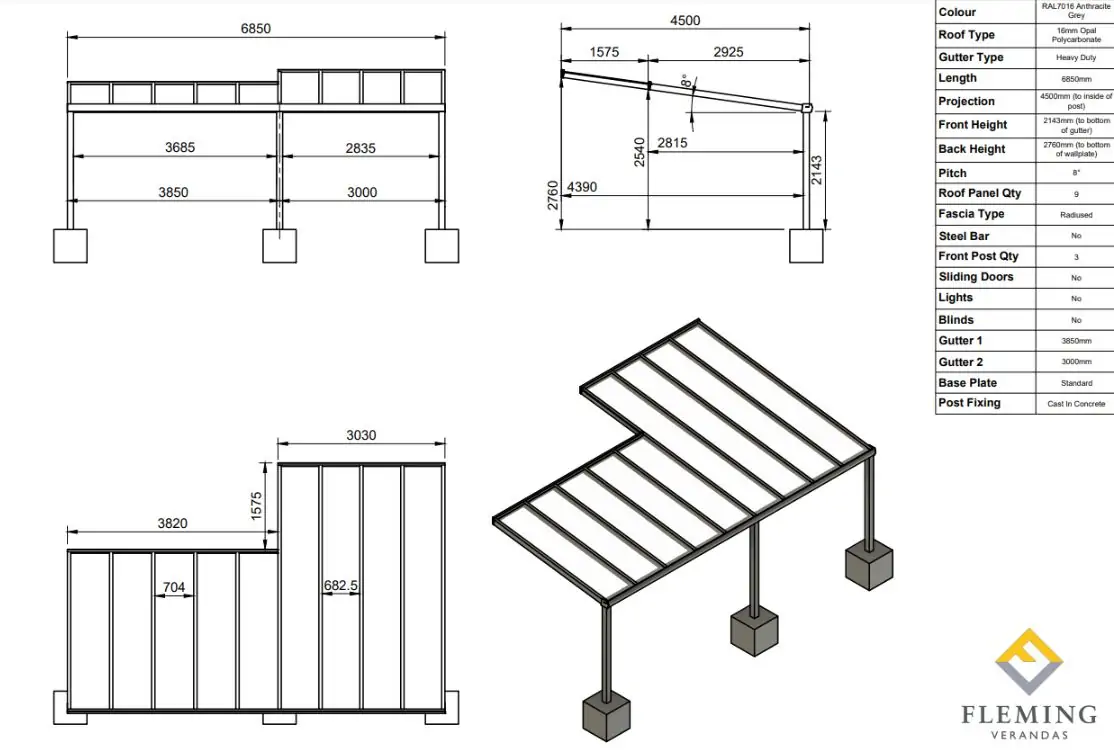
However, as with any home improvement project, there can be potential obstructions that may slow or hinder a new veranda’s installation. These can be anything from chimney stacks to boiler vents, soil and drainage pipes, a wood-burning fires, or even structural posts. Fortunately, there are workarounds for many of these obstructions and, with proper planning, they can be addressed effectively during the initial enquiry stages, eliminating any hassle or delays during installation. Addressing these obstructions is crucial to ensuring a seamless installation and delivering a high-quality aesthetic for your outdoor project.
One effective method of dealing with some potential obstructions is the use of a glazing split. It is a simple, practical solution for customers interested in fitting glass verandas onto properties with a smaller obstruction or a unique design feature. In a nutshell, it involves either shortening the affected laminate glass panels or, depending on what obstruction or design feature you’re looking to accommodate, creating two smaller glass panels to fit between the aluminium beams. The installer would then use aluminium glazing bars, RAL-matched to your chosen framework colour, to connect the laminate glass to a piece of acrylic glass, or Plexiglass. A lightweight, yet very durable material, acrylic glass can easily be cut to fit around the obstruction or feature, without compromising on the integrity or the aesthetic of your new veranda.
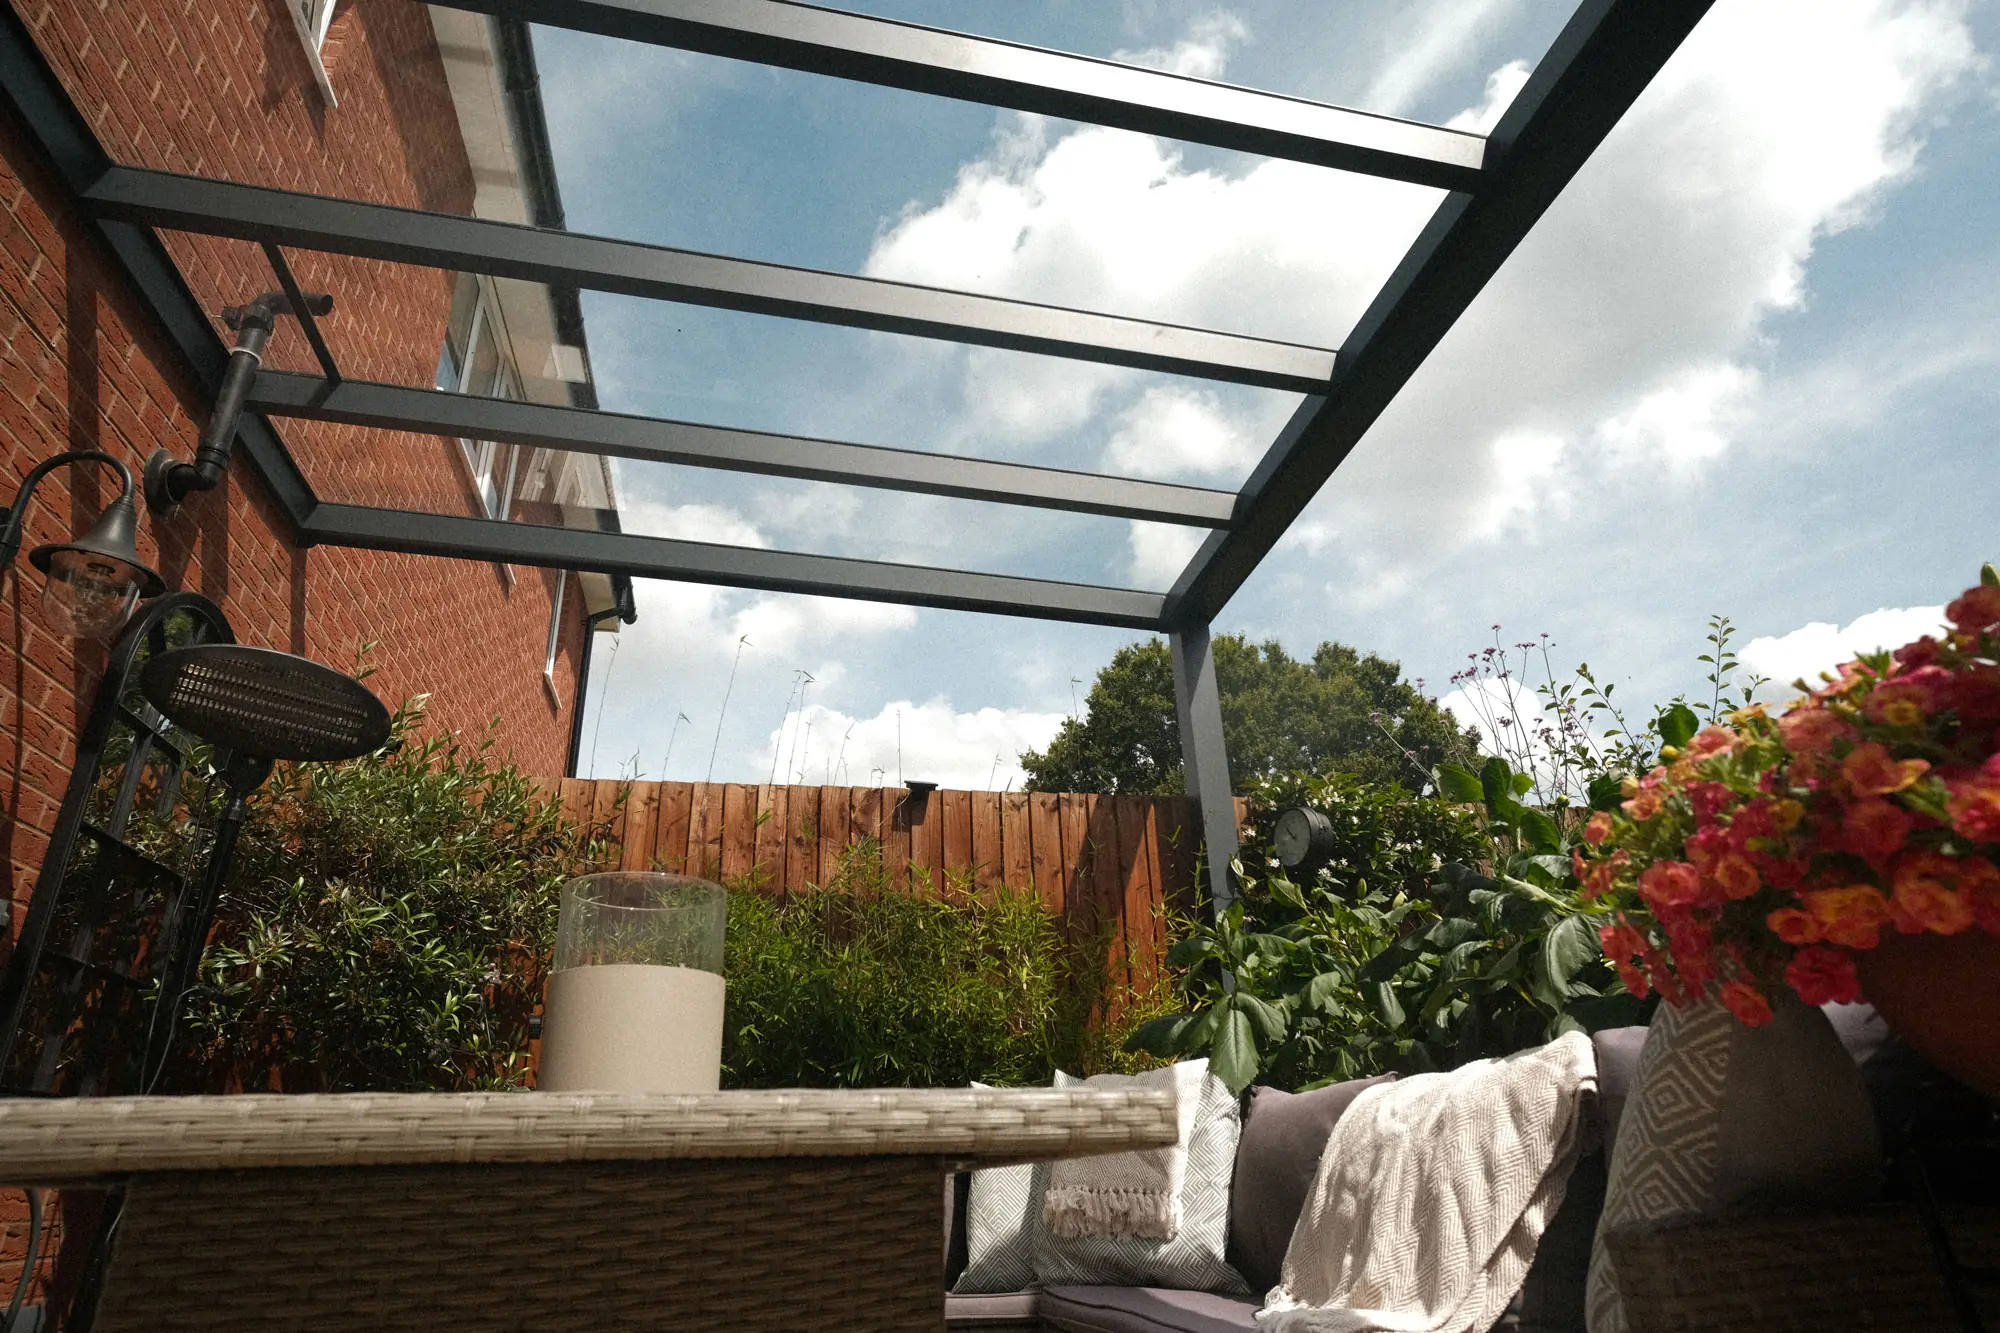
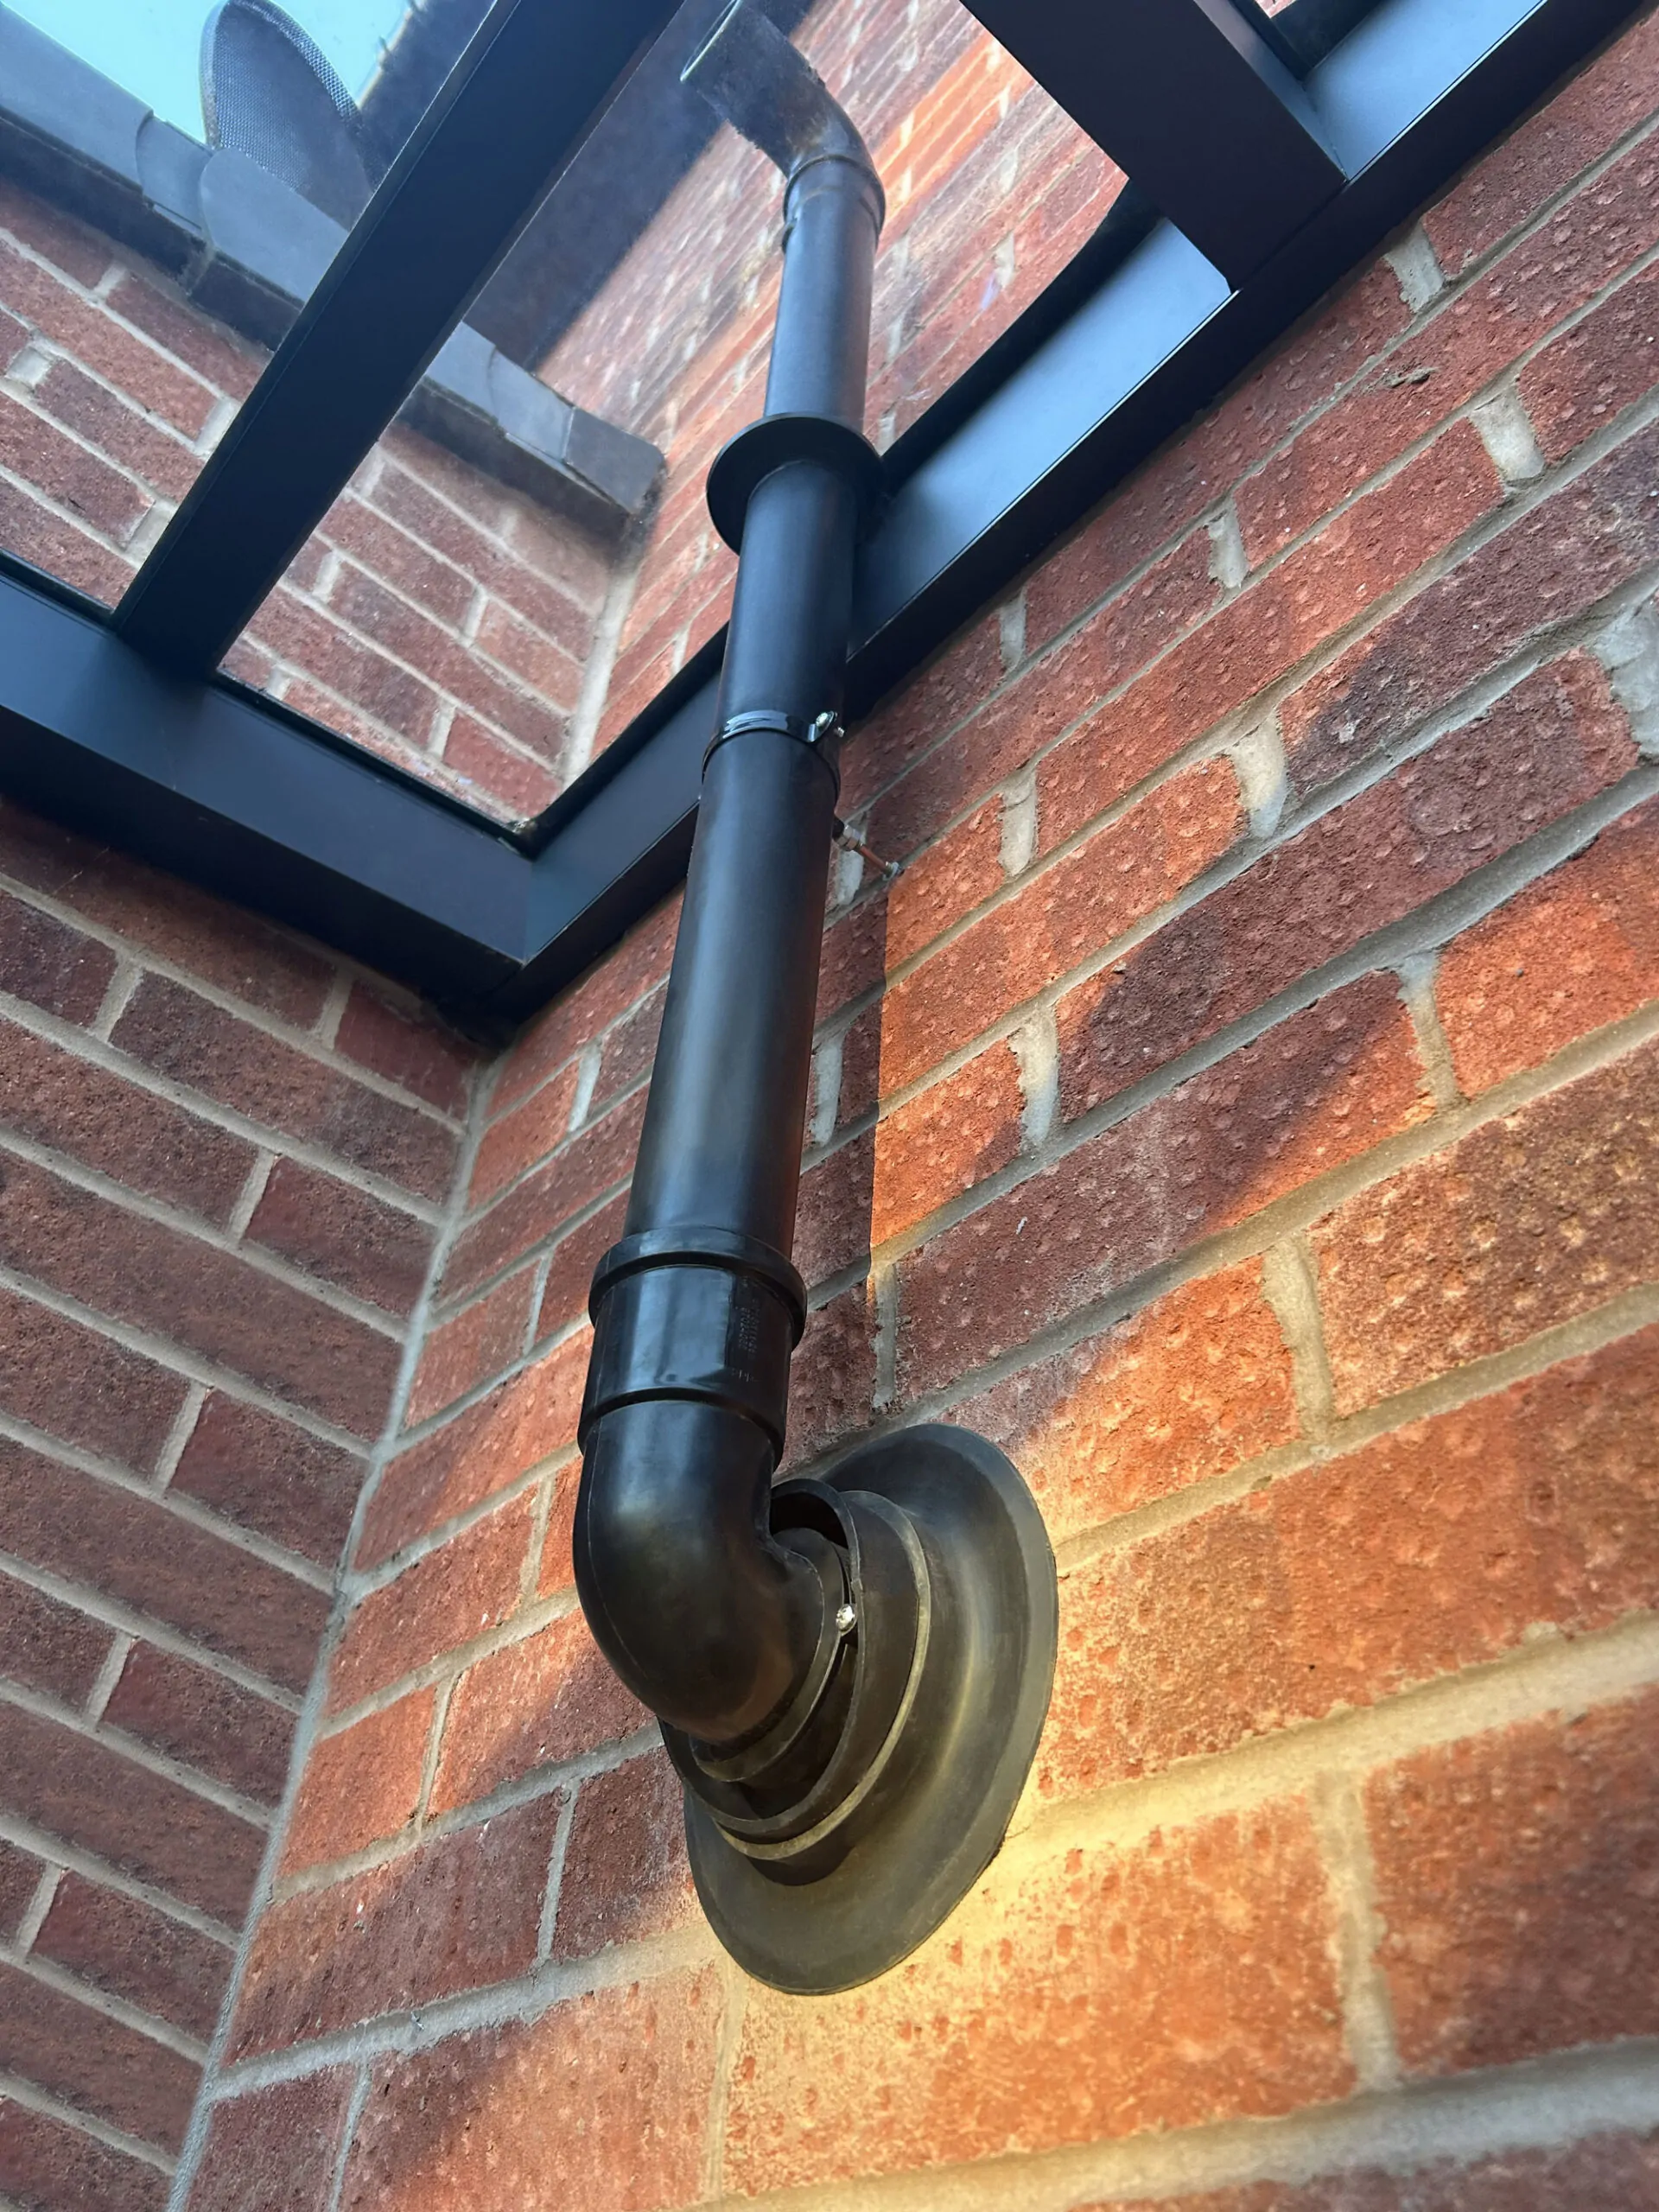
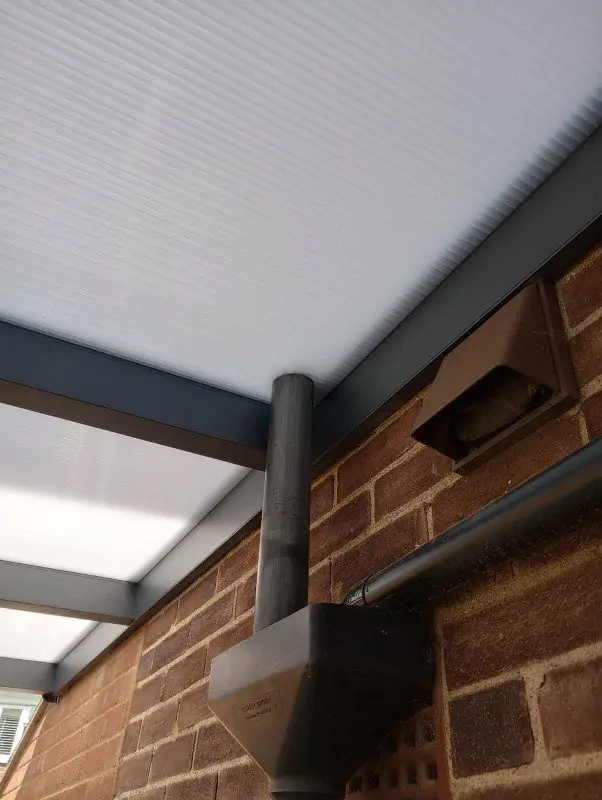
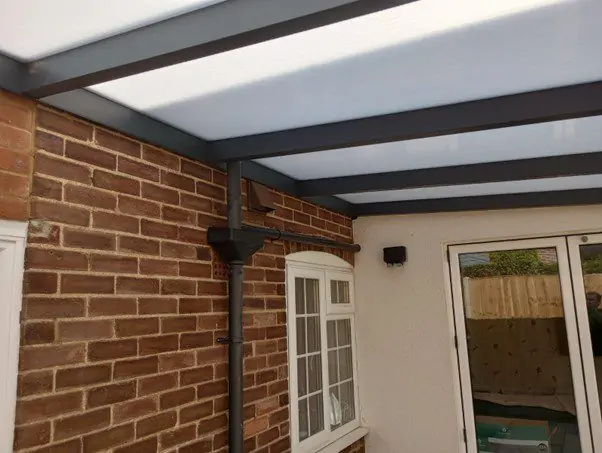
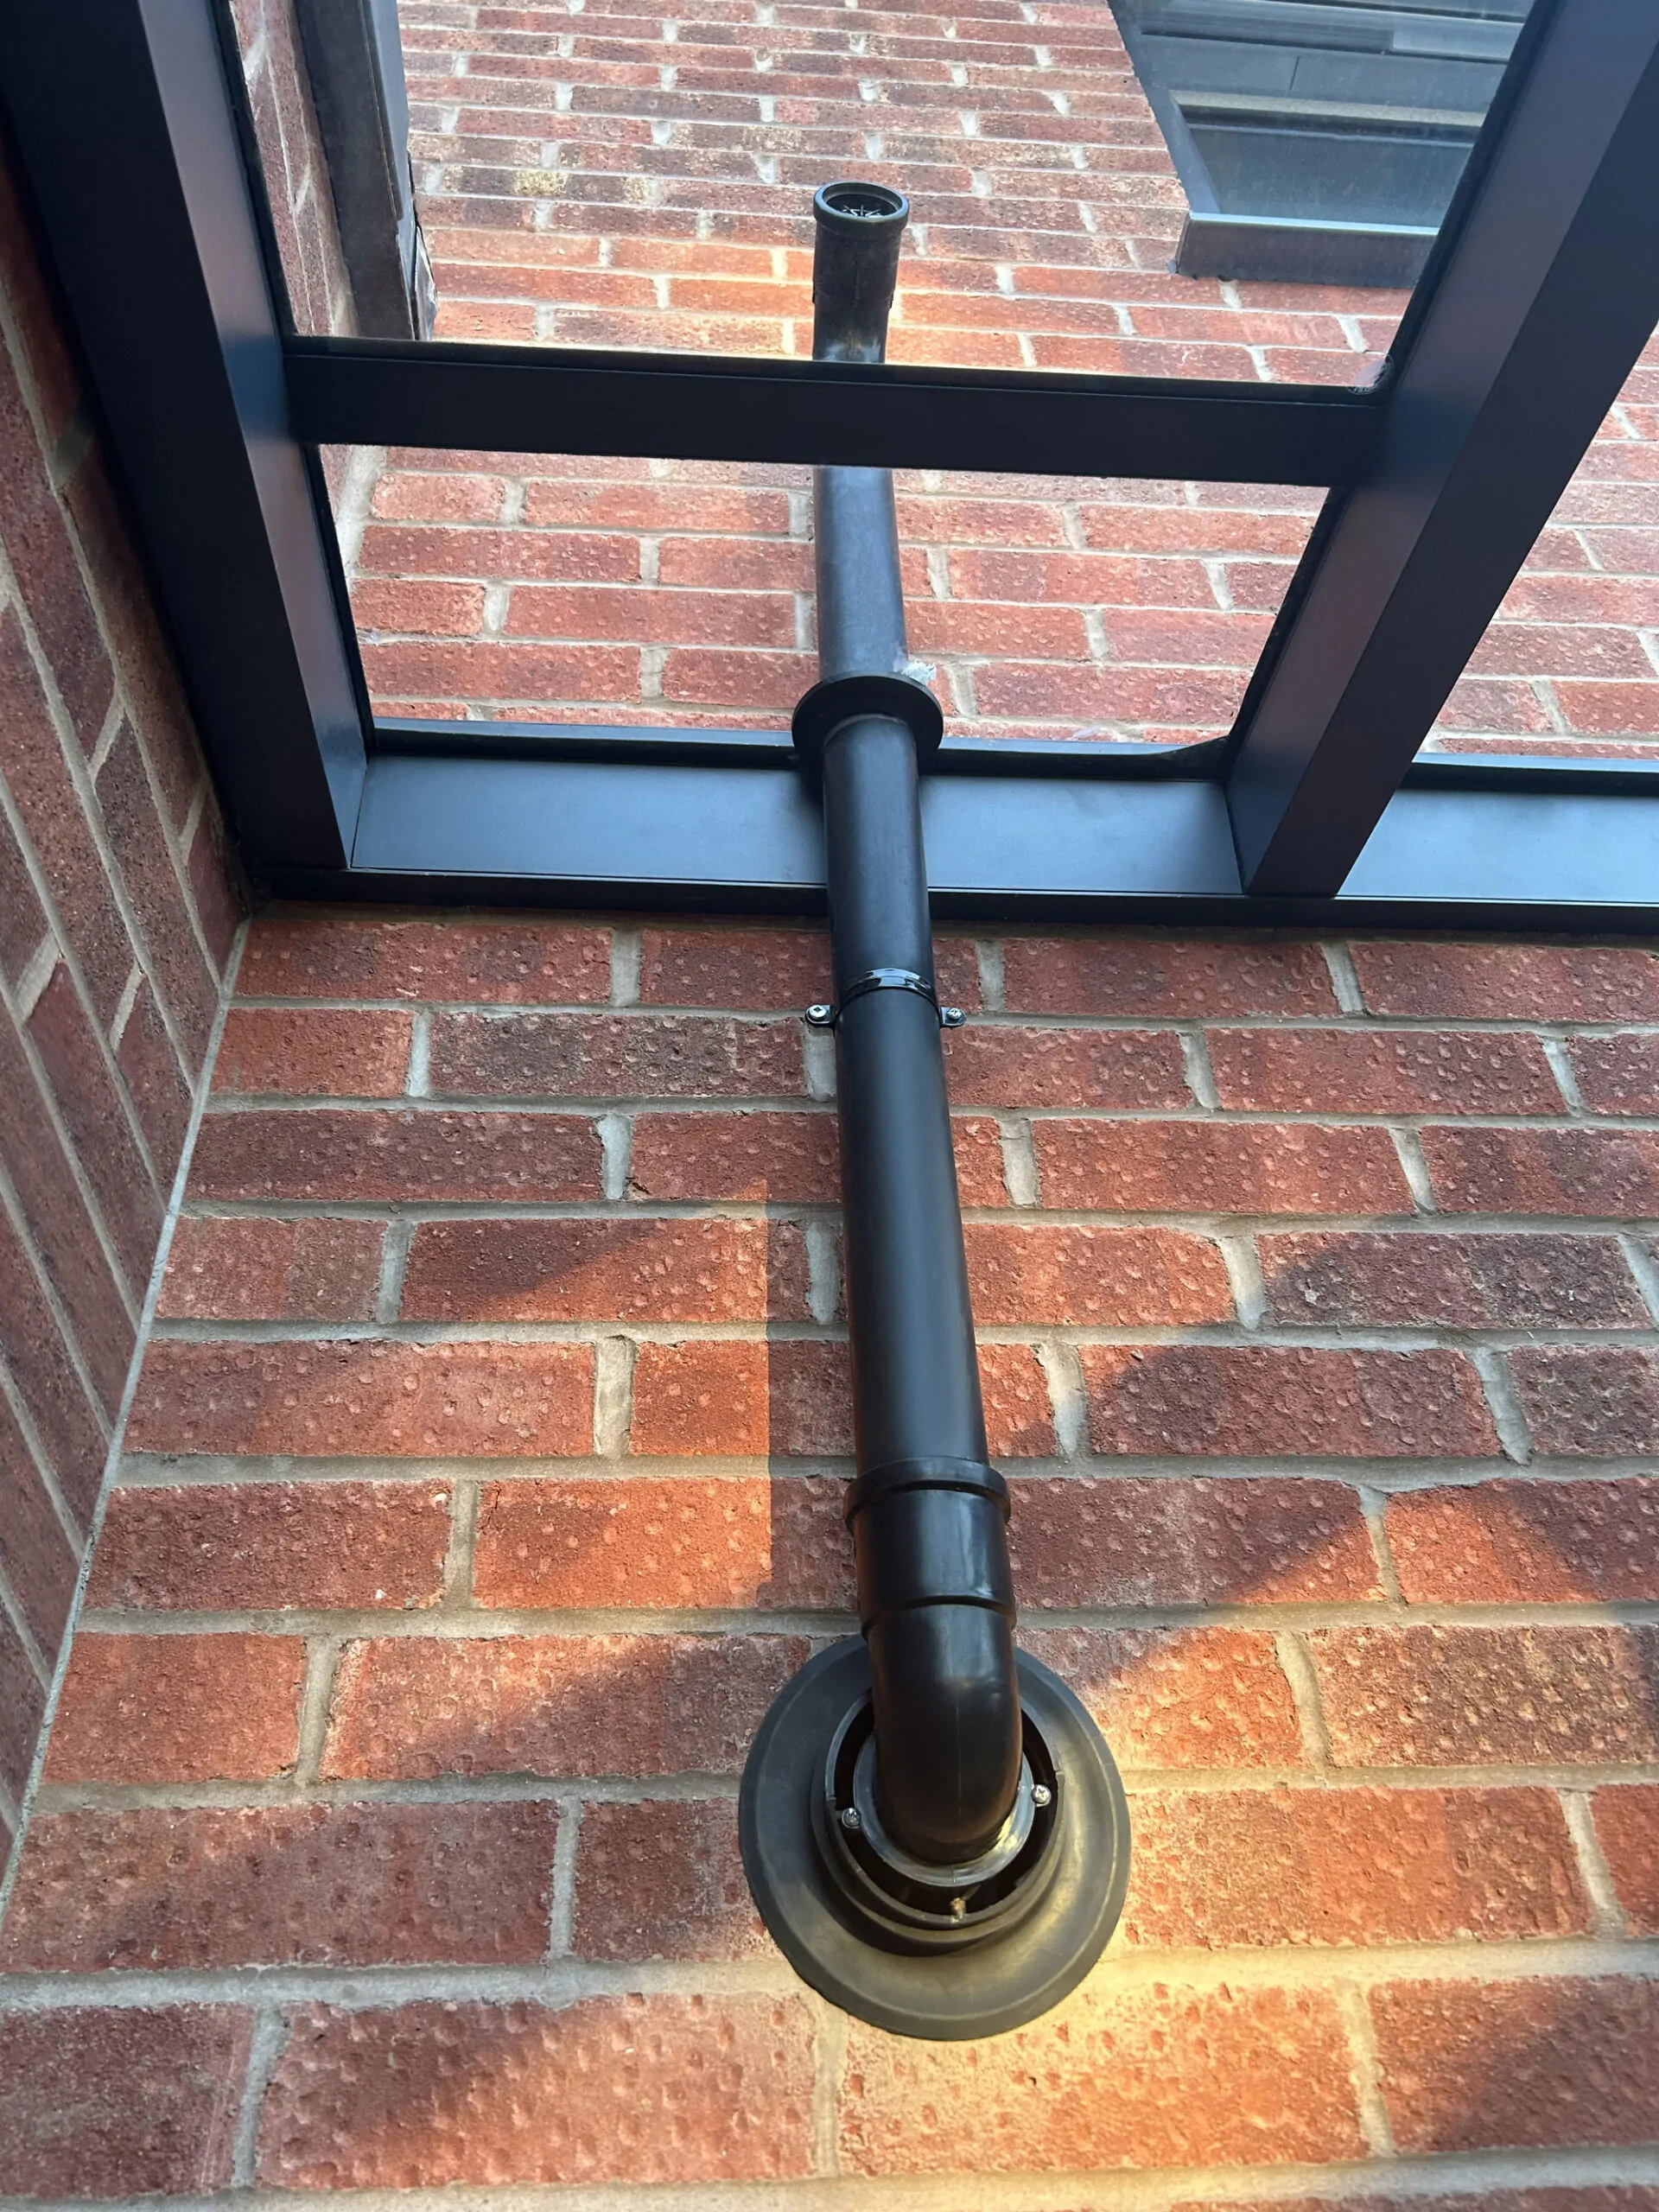
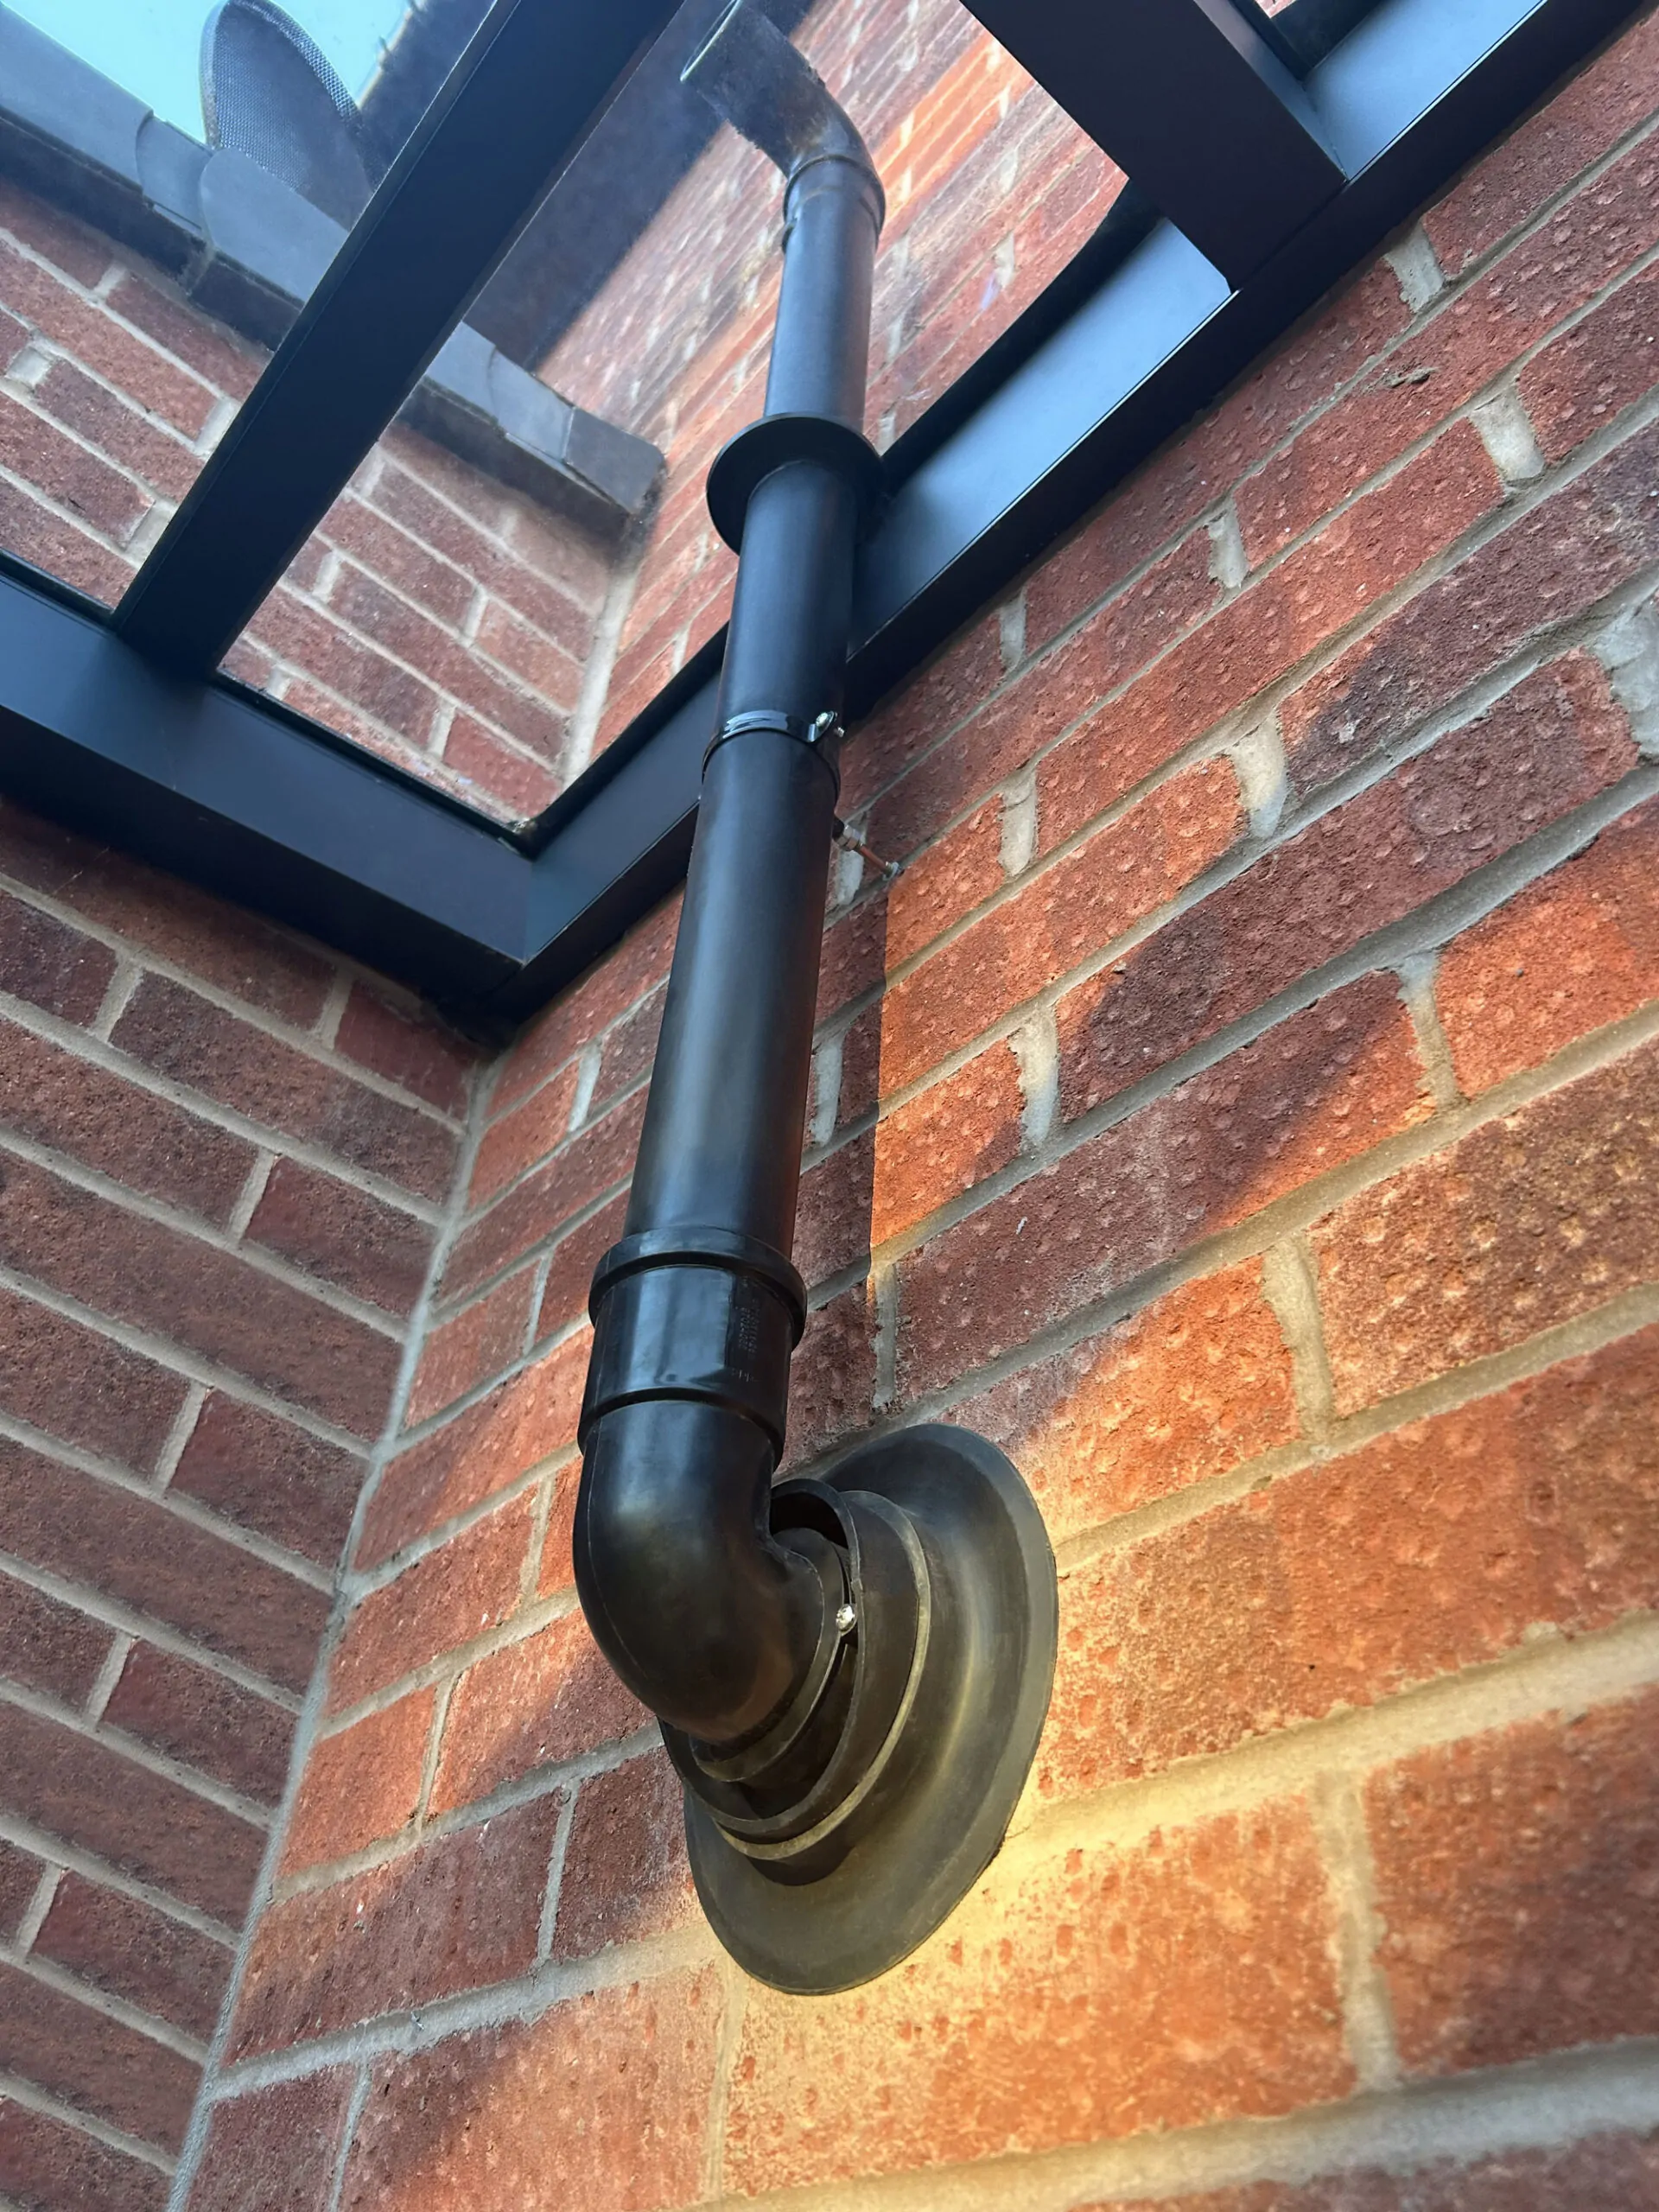
Glazing splits are best employed when dealing with boiler vents, soil or drainage pipes, and wood burning fires. Customers can easily buy a boiler extension kit from retailers such as Screwfix and Toolstation to ensure that any fumes are not vented inside the veranda. As a rough indication of cost, you’d be looking at around £90 – £100.00 for a good quality full extension kit. There may be some variation in the cost, depending on which kit you need. Click the hyperlinks to take a look!
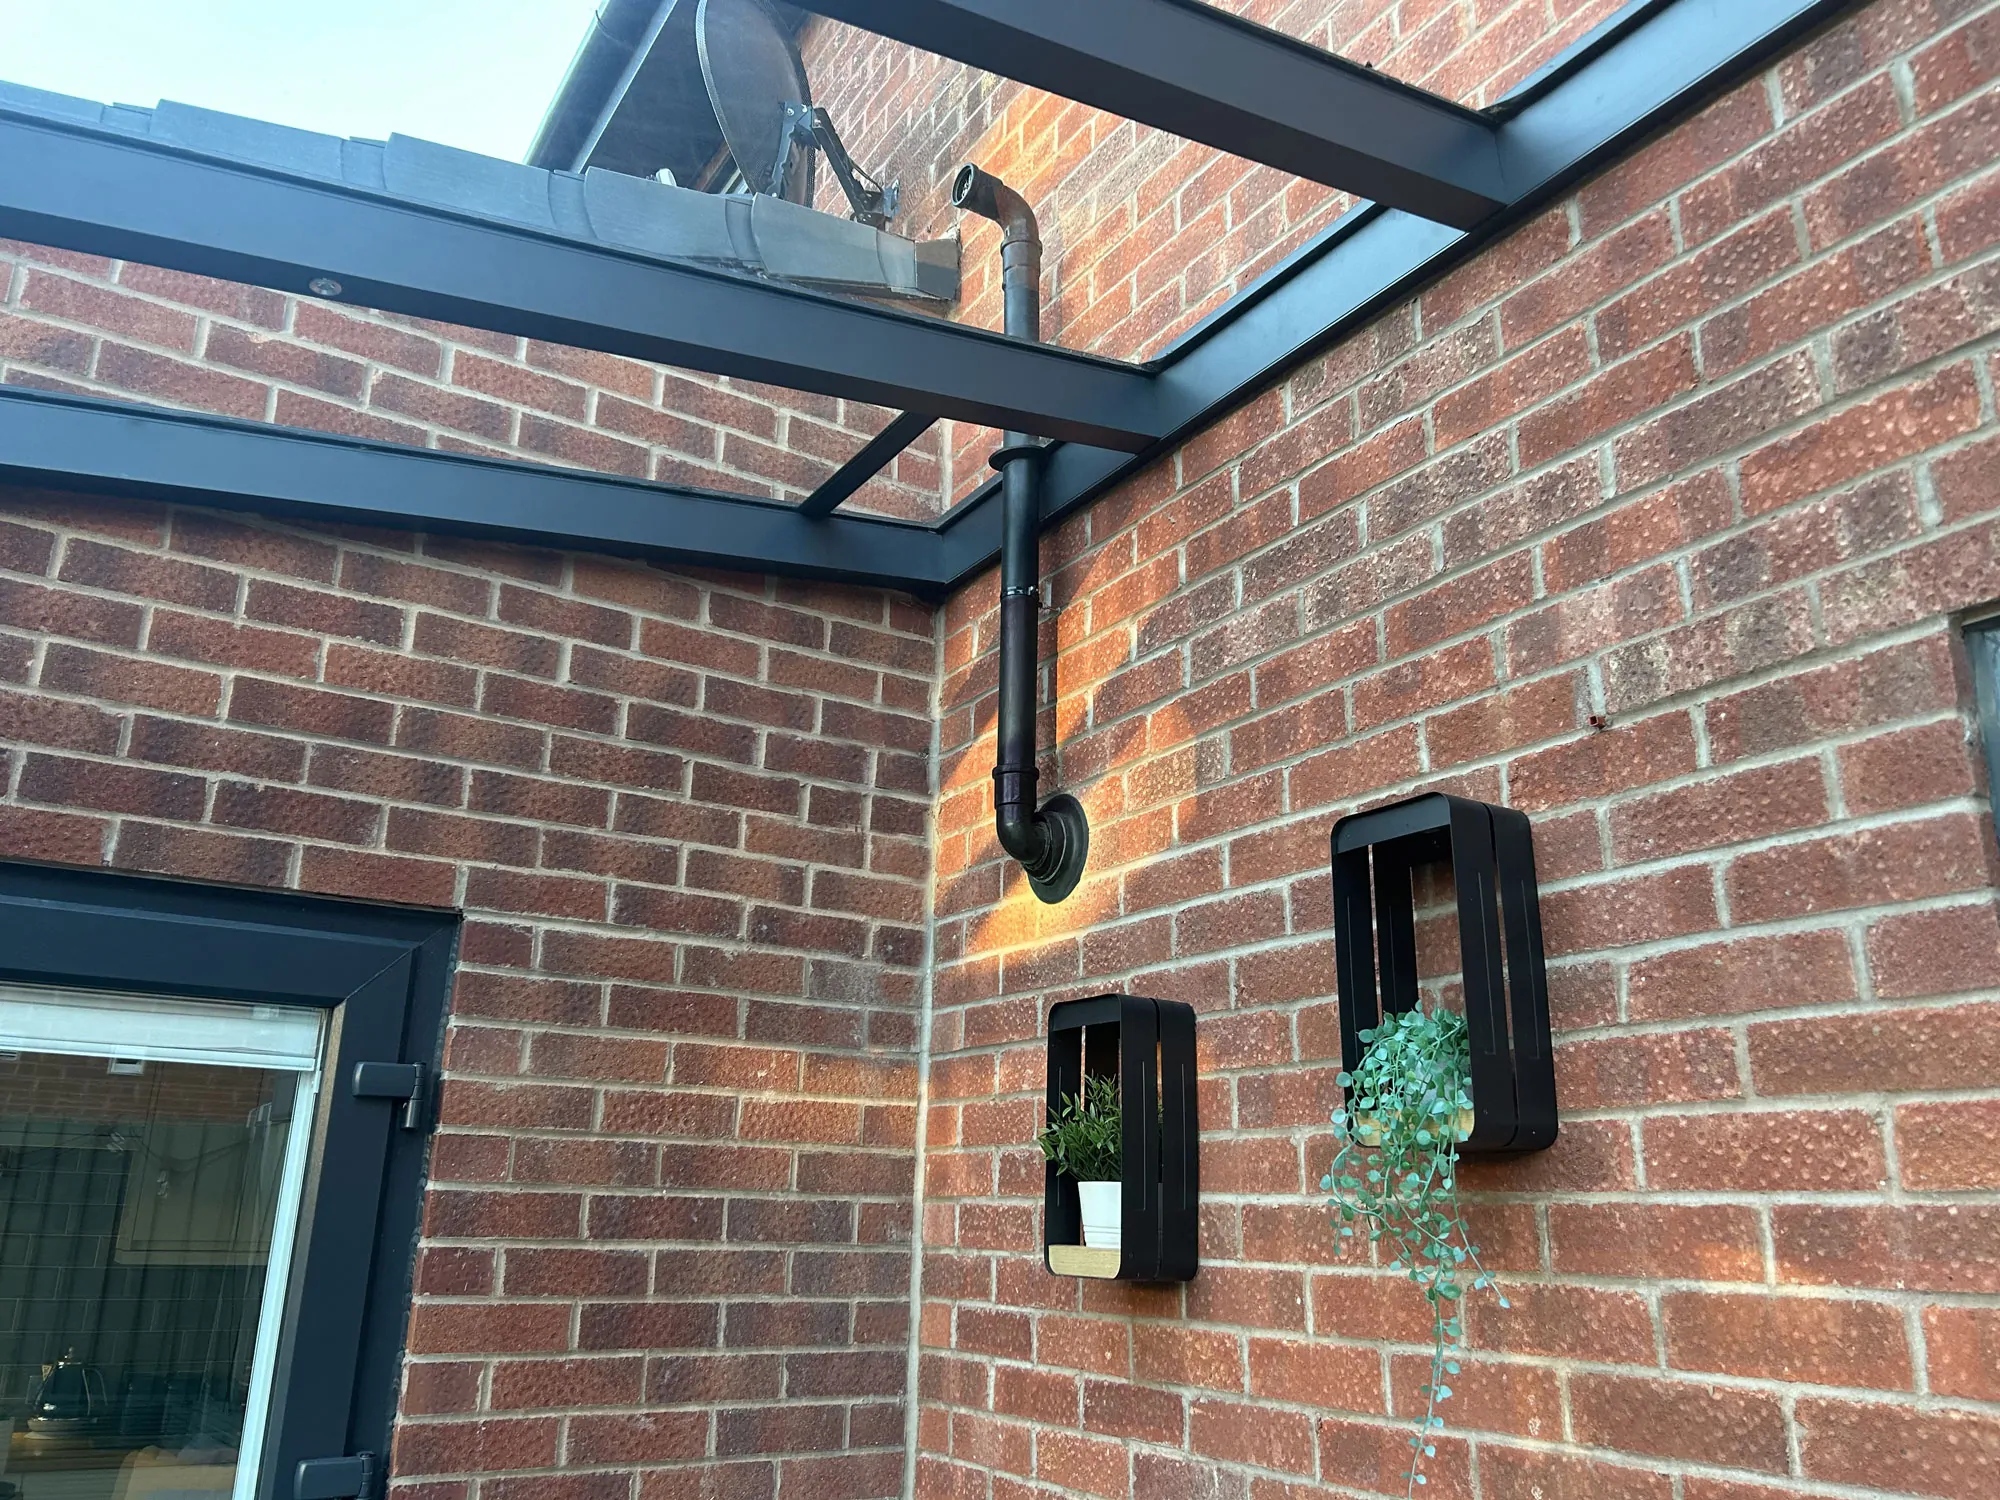
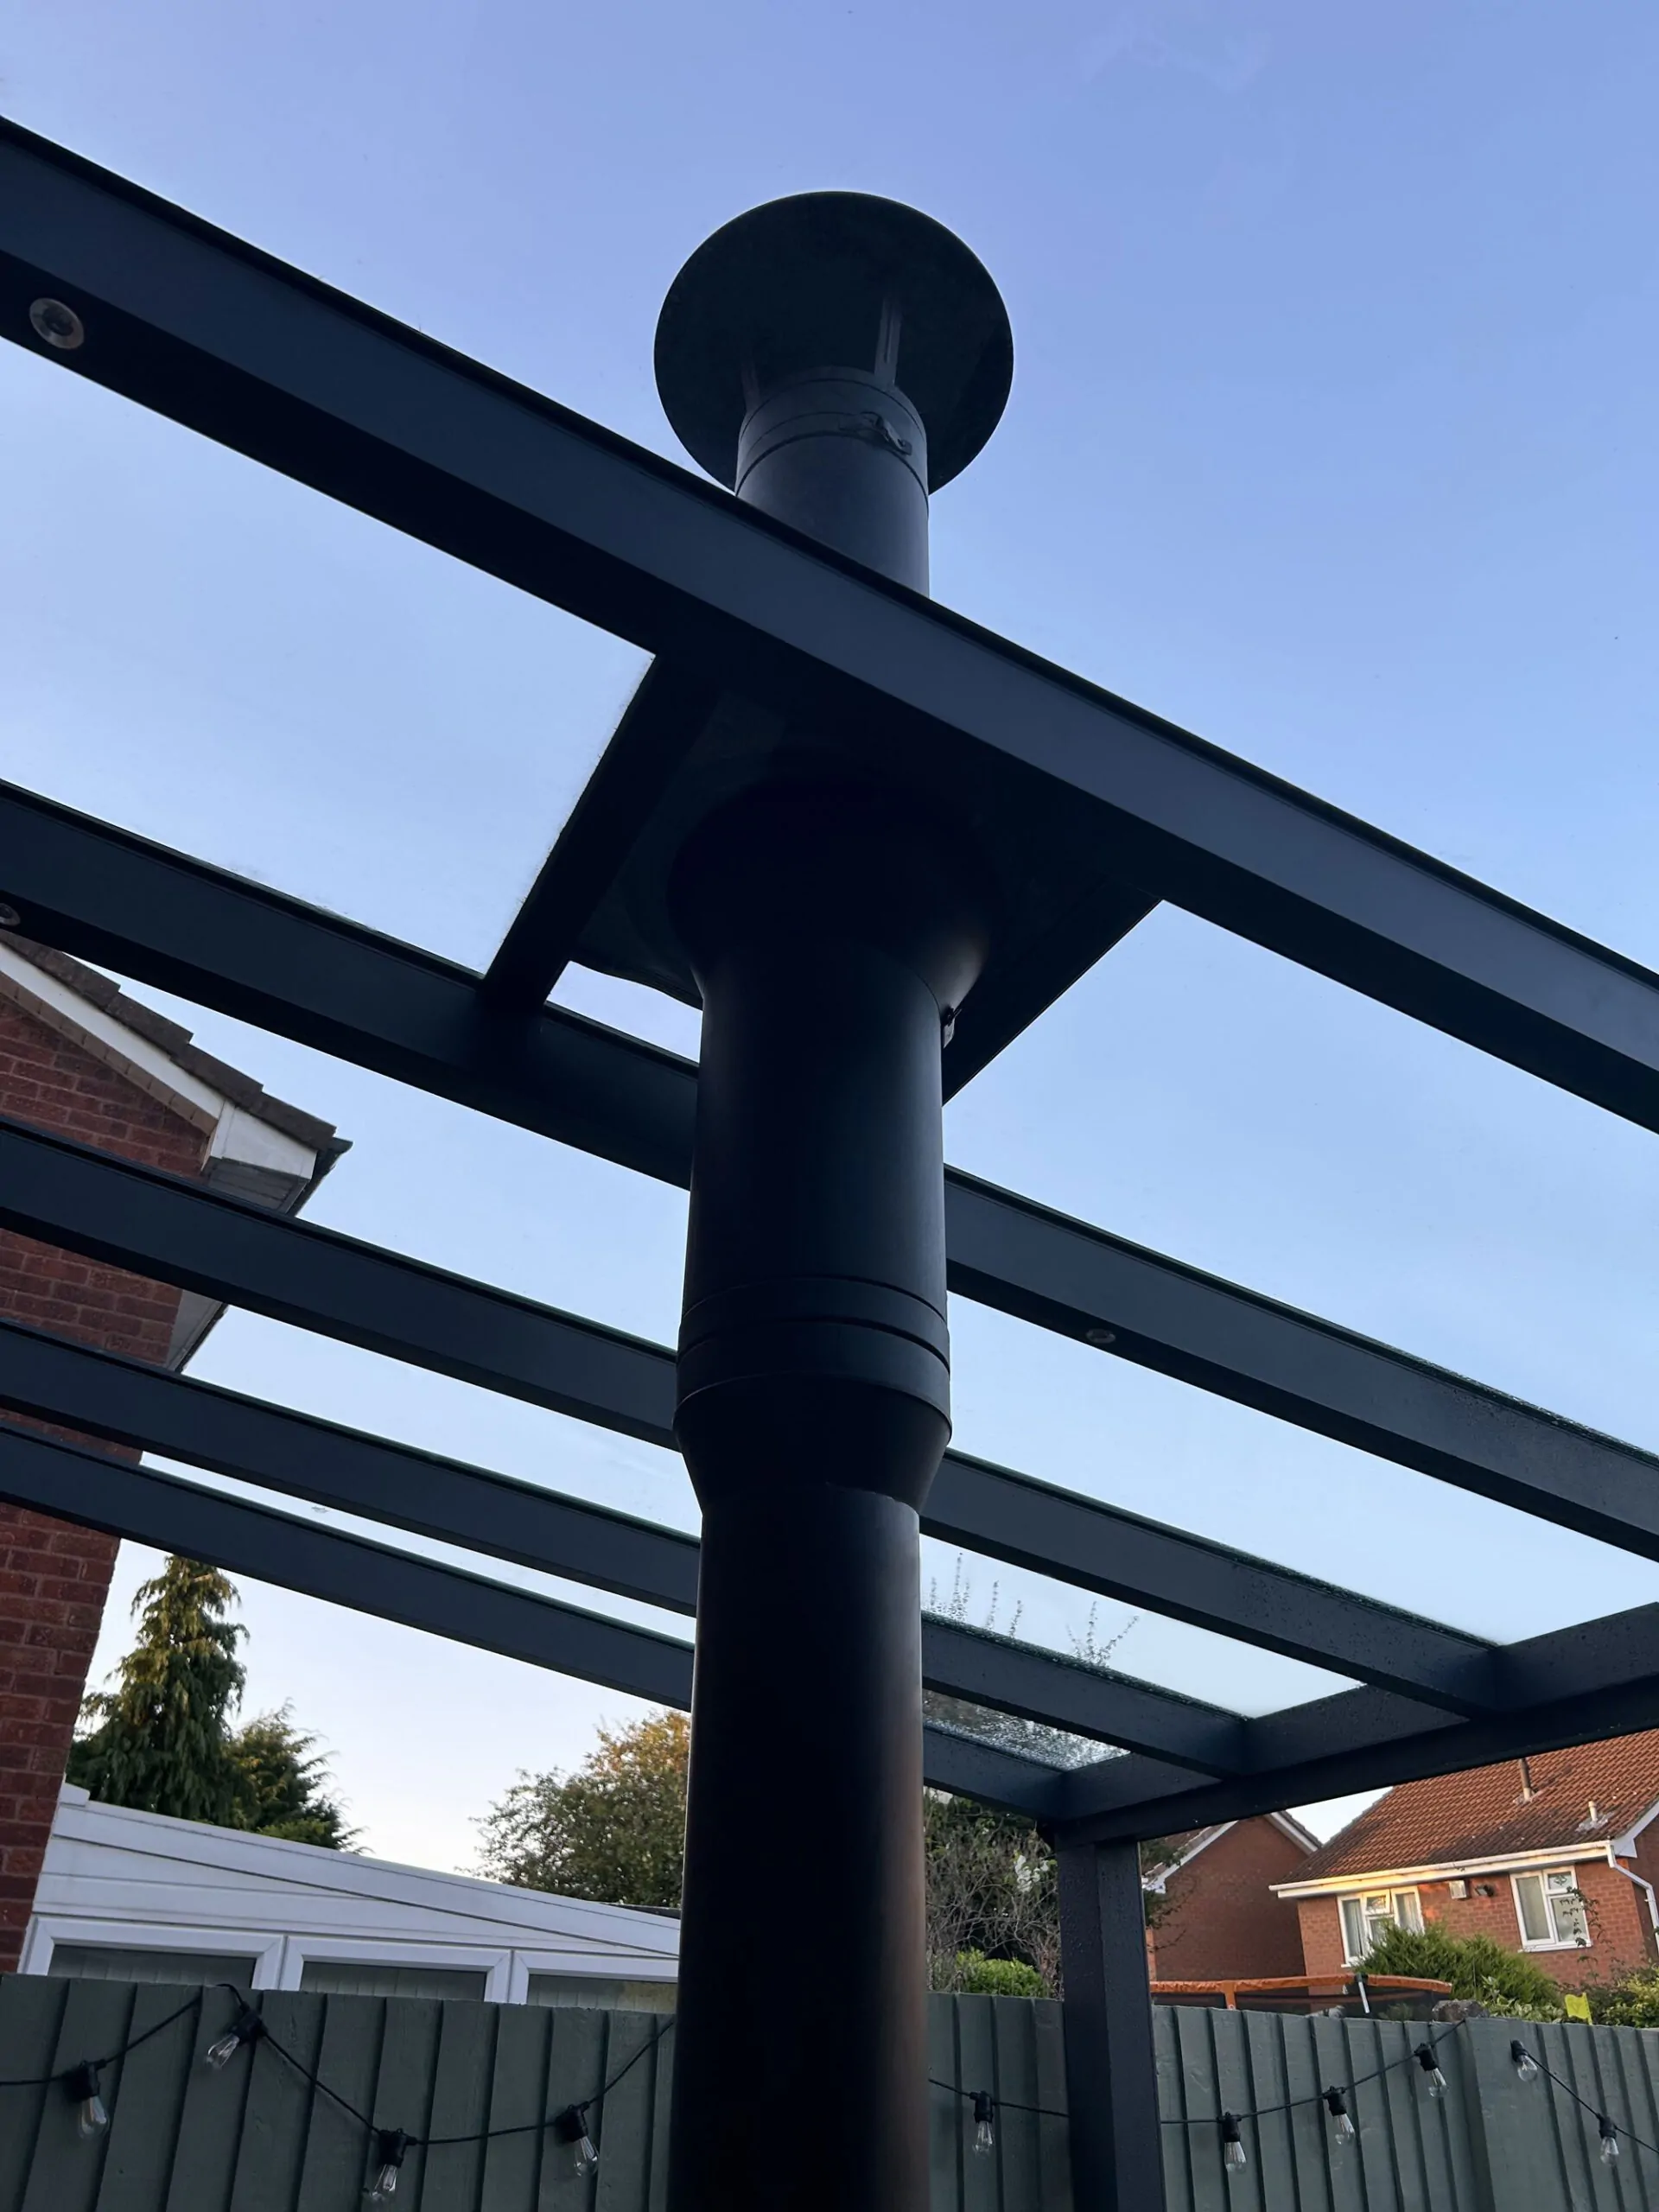
When fitting the split, the installation team cuts a small hole in the acrylic glass section for the extended flue. They feed the flue through the acrylic section, then use a silicone seal around the top and bottom of the acrylic to minimize the potential for water ingress. Depending on the size of the extension flue, and its colour, you may be able to buy a pipe collar that can also be fitted around one or both sides of the acrylic section, depending on their preferences.
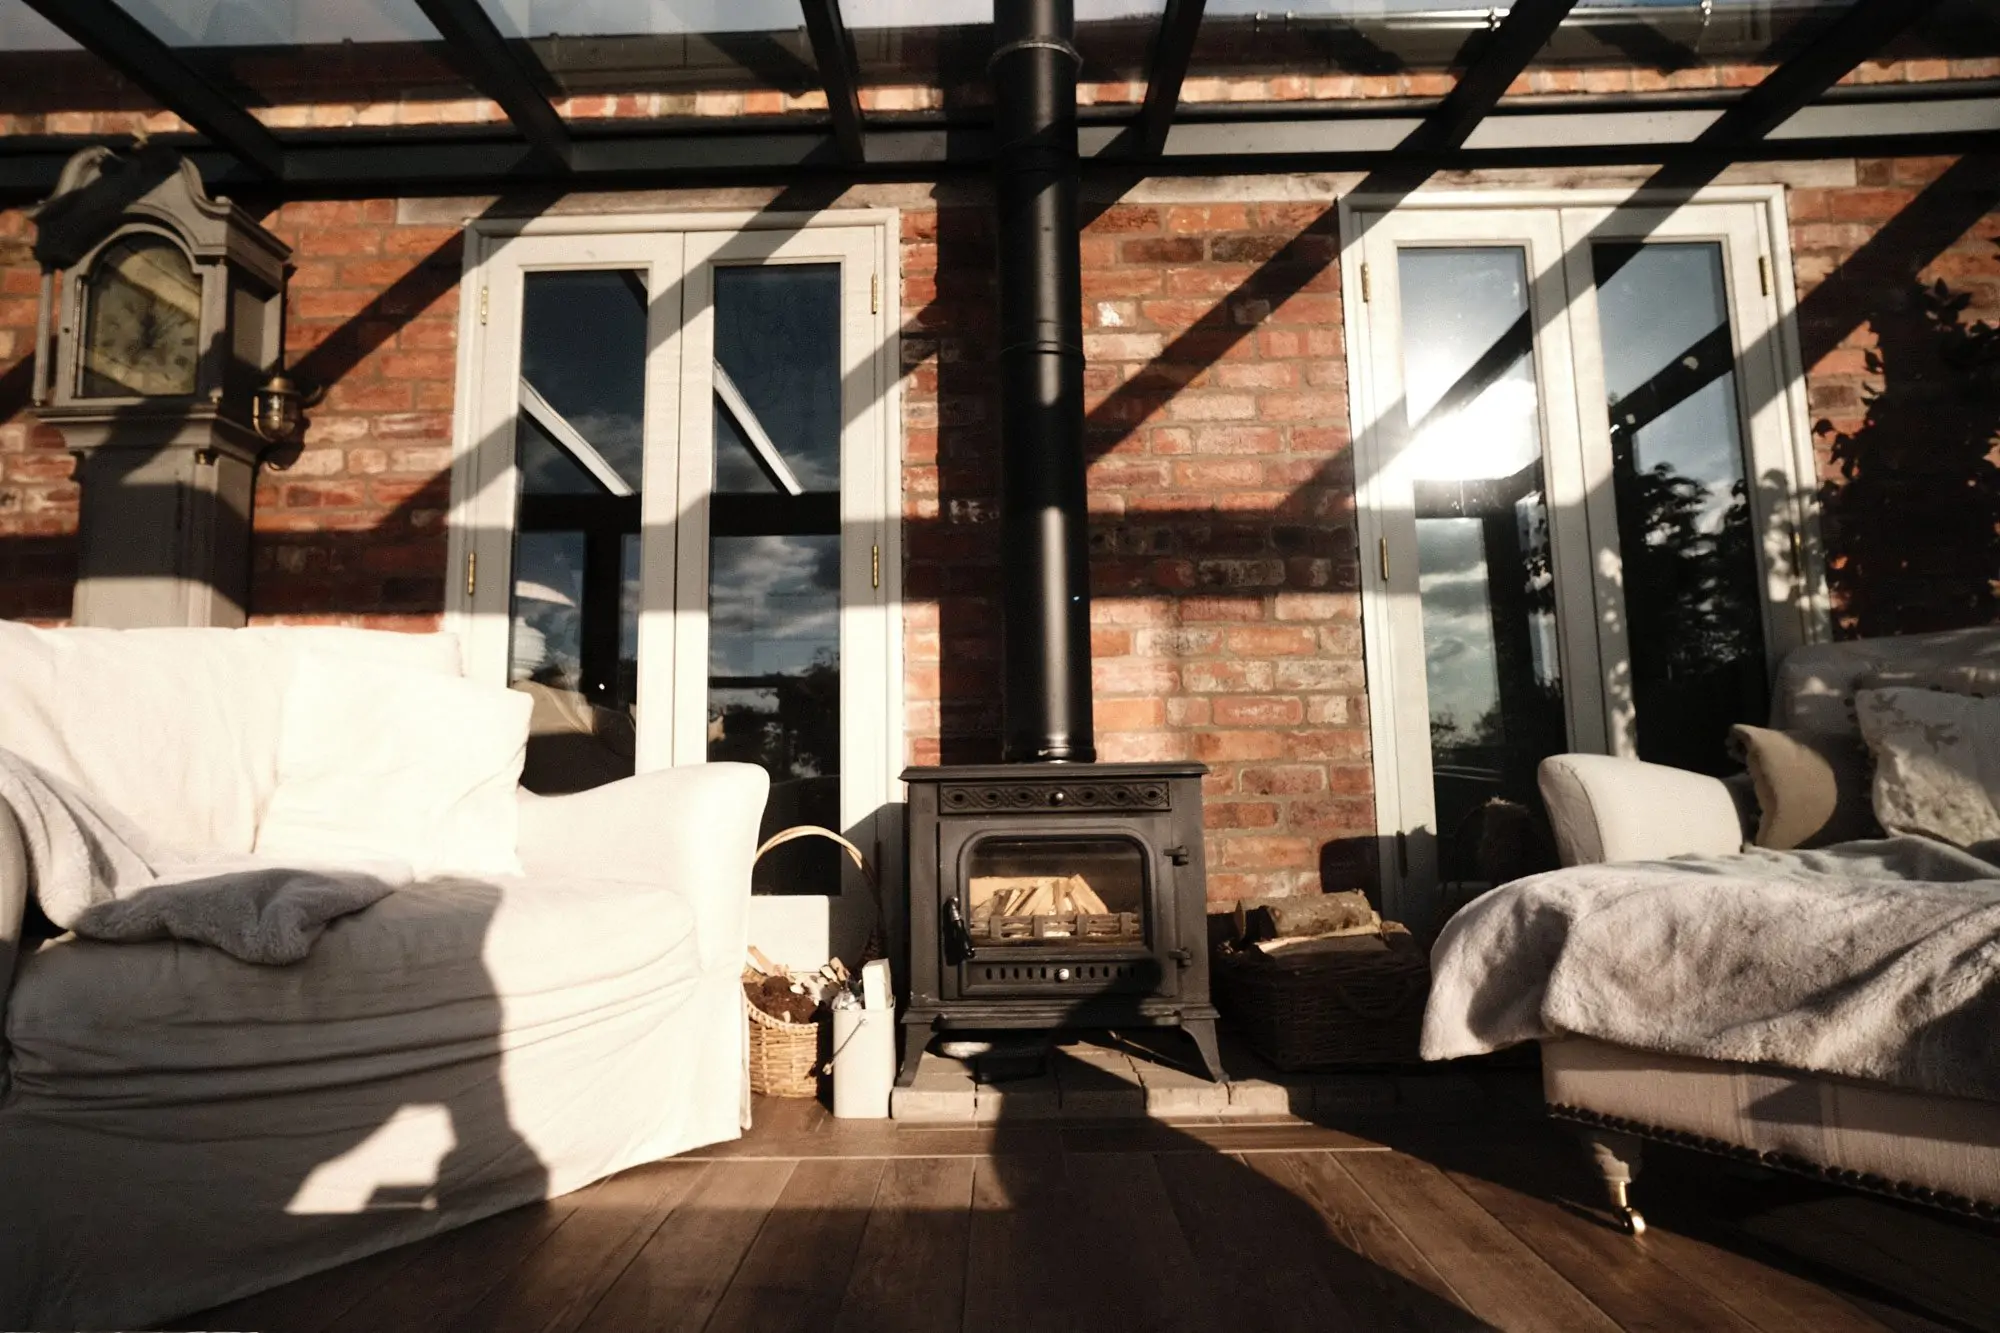
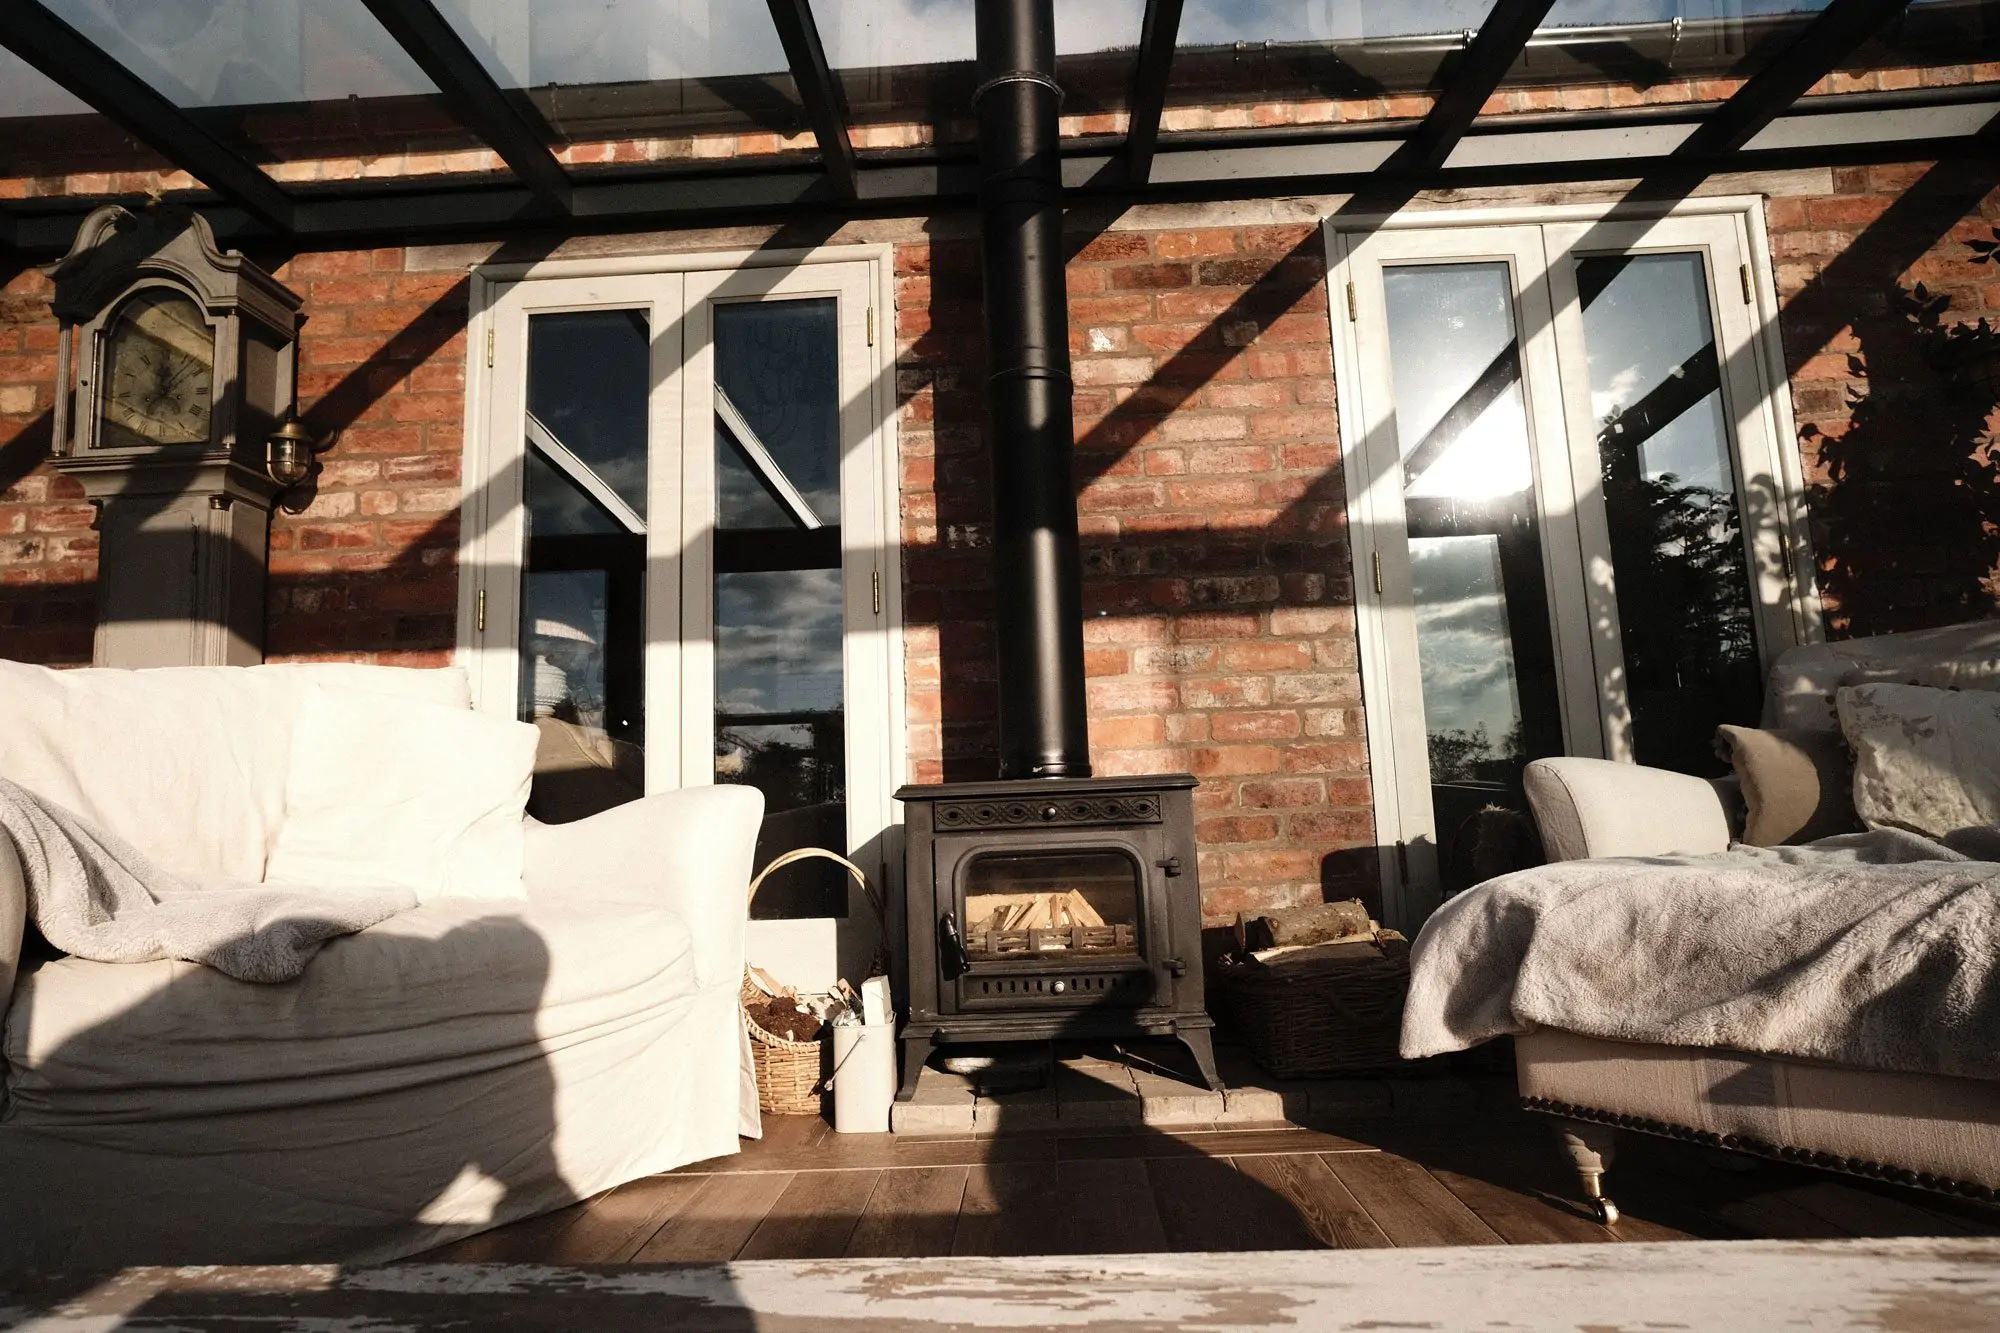
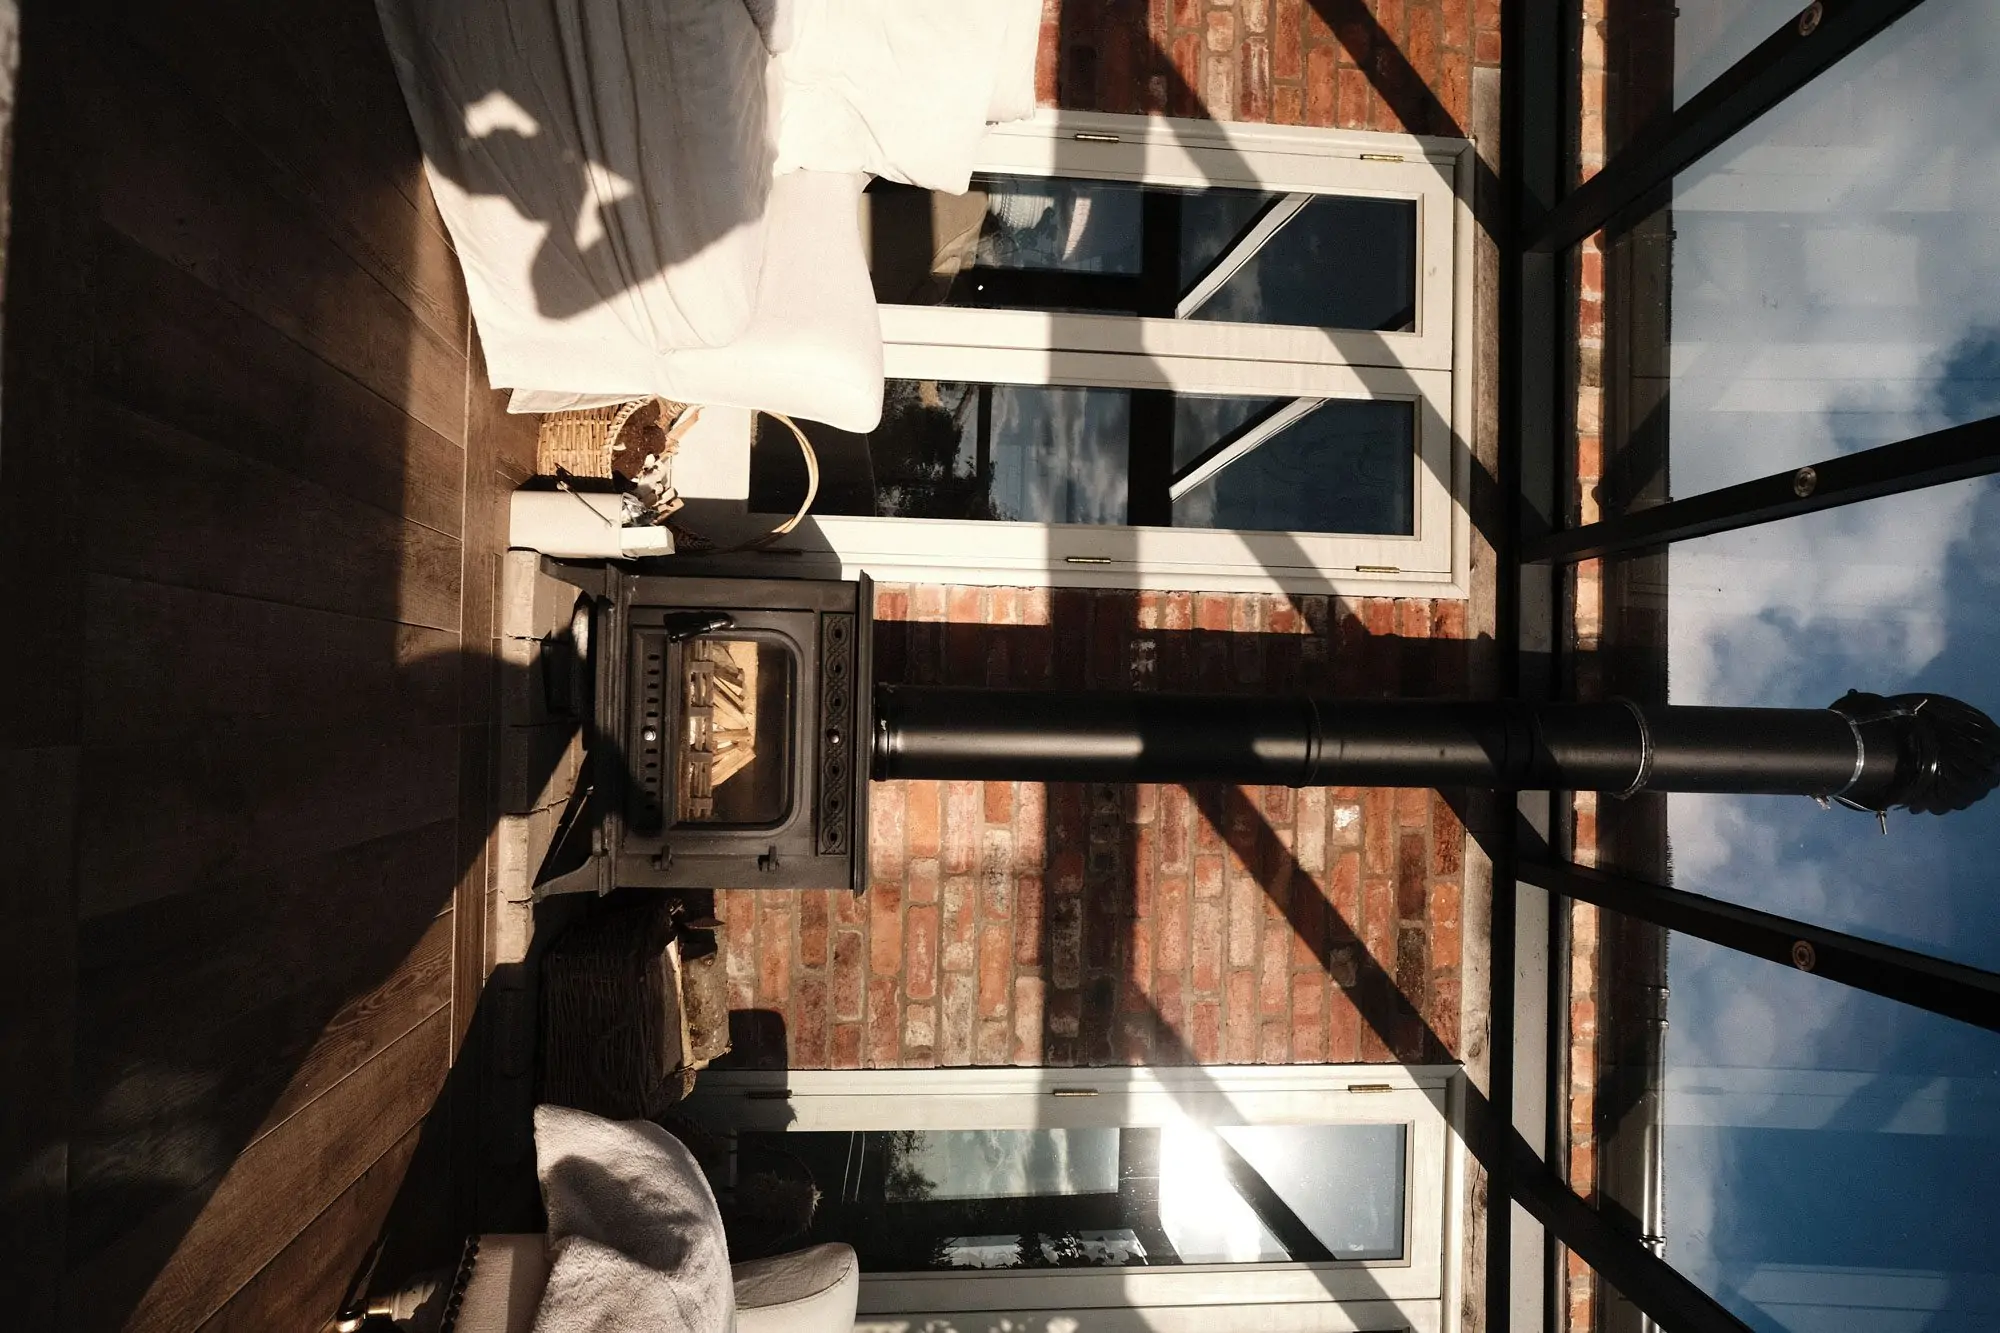
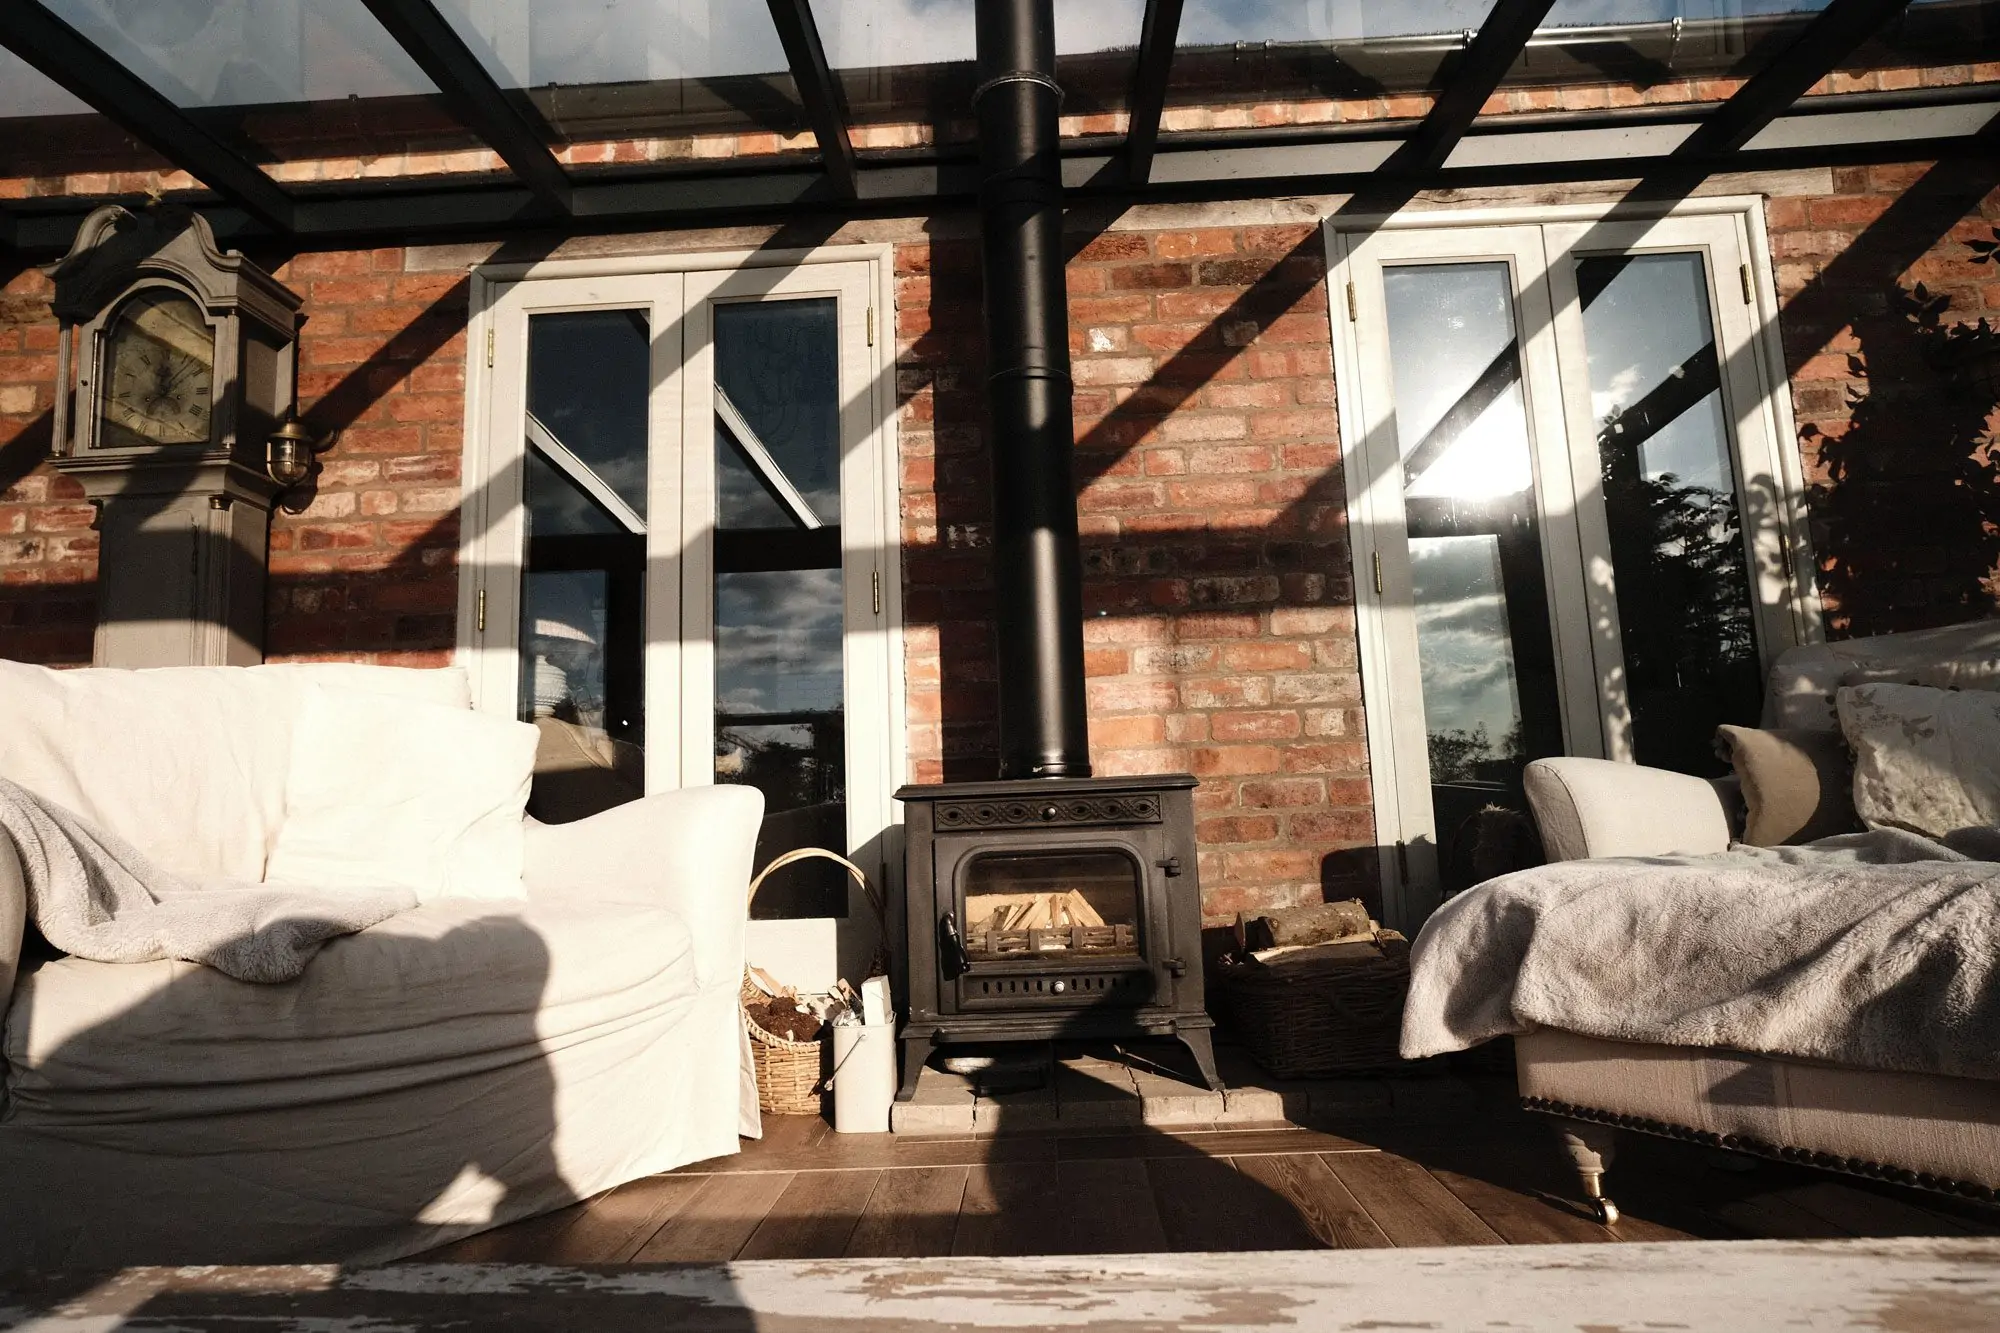
With wood-burning fires, acrylic glass and a glazing split can be used to incorporate the flue into the veranda roof system. Unlike the boiler flue extension which will always be close to the wall, customers can choose where to position their wood-burning fire, as long as it does not obstruct one the rafters, or the gutter. This would mean they require two smaller panels of laminate glass, and two glazing joins to properly fit this. Depending on the positioning, relative to the wall-plate and the overall pitch of the veranda, you may need an extended flue for the smoke. You can also replace the entire laminate glass panel with acrylic, at your own discretion!
While glazing splits could theoretically be used to accommodate for architectural features like chimney breasts or an L-shaped rear wall, this would depend on precisely where the veranda is being fitted and how the chimney breast fits in relation to the beams. It may require bespoke manufacture, and a multi-stage install process to accommodate this properly. It’s much more efficient to install a polycarbonate veranda, as they offer installers complete flexibility, regardless of the size or positioning of a feature. Both the wall-plate and the polycarbonate panels can be cut and adjusted on-site by the installation team.
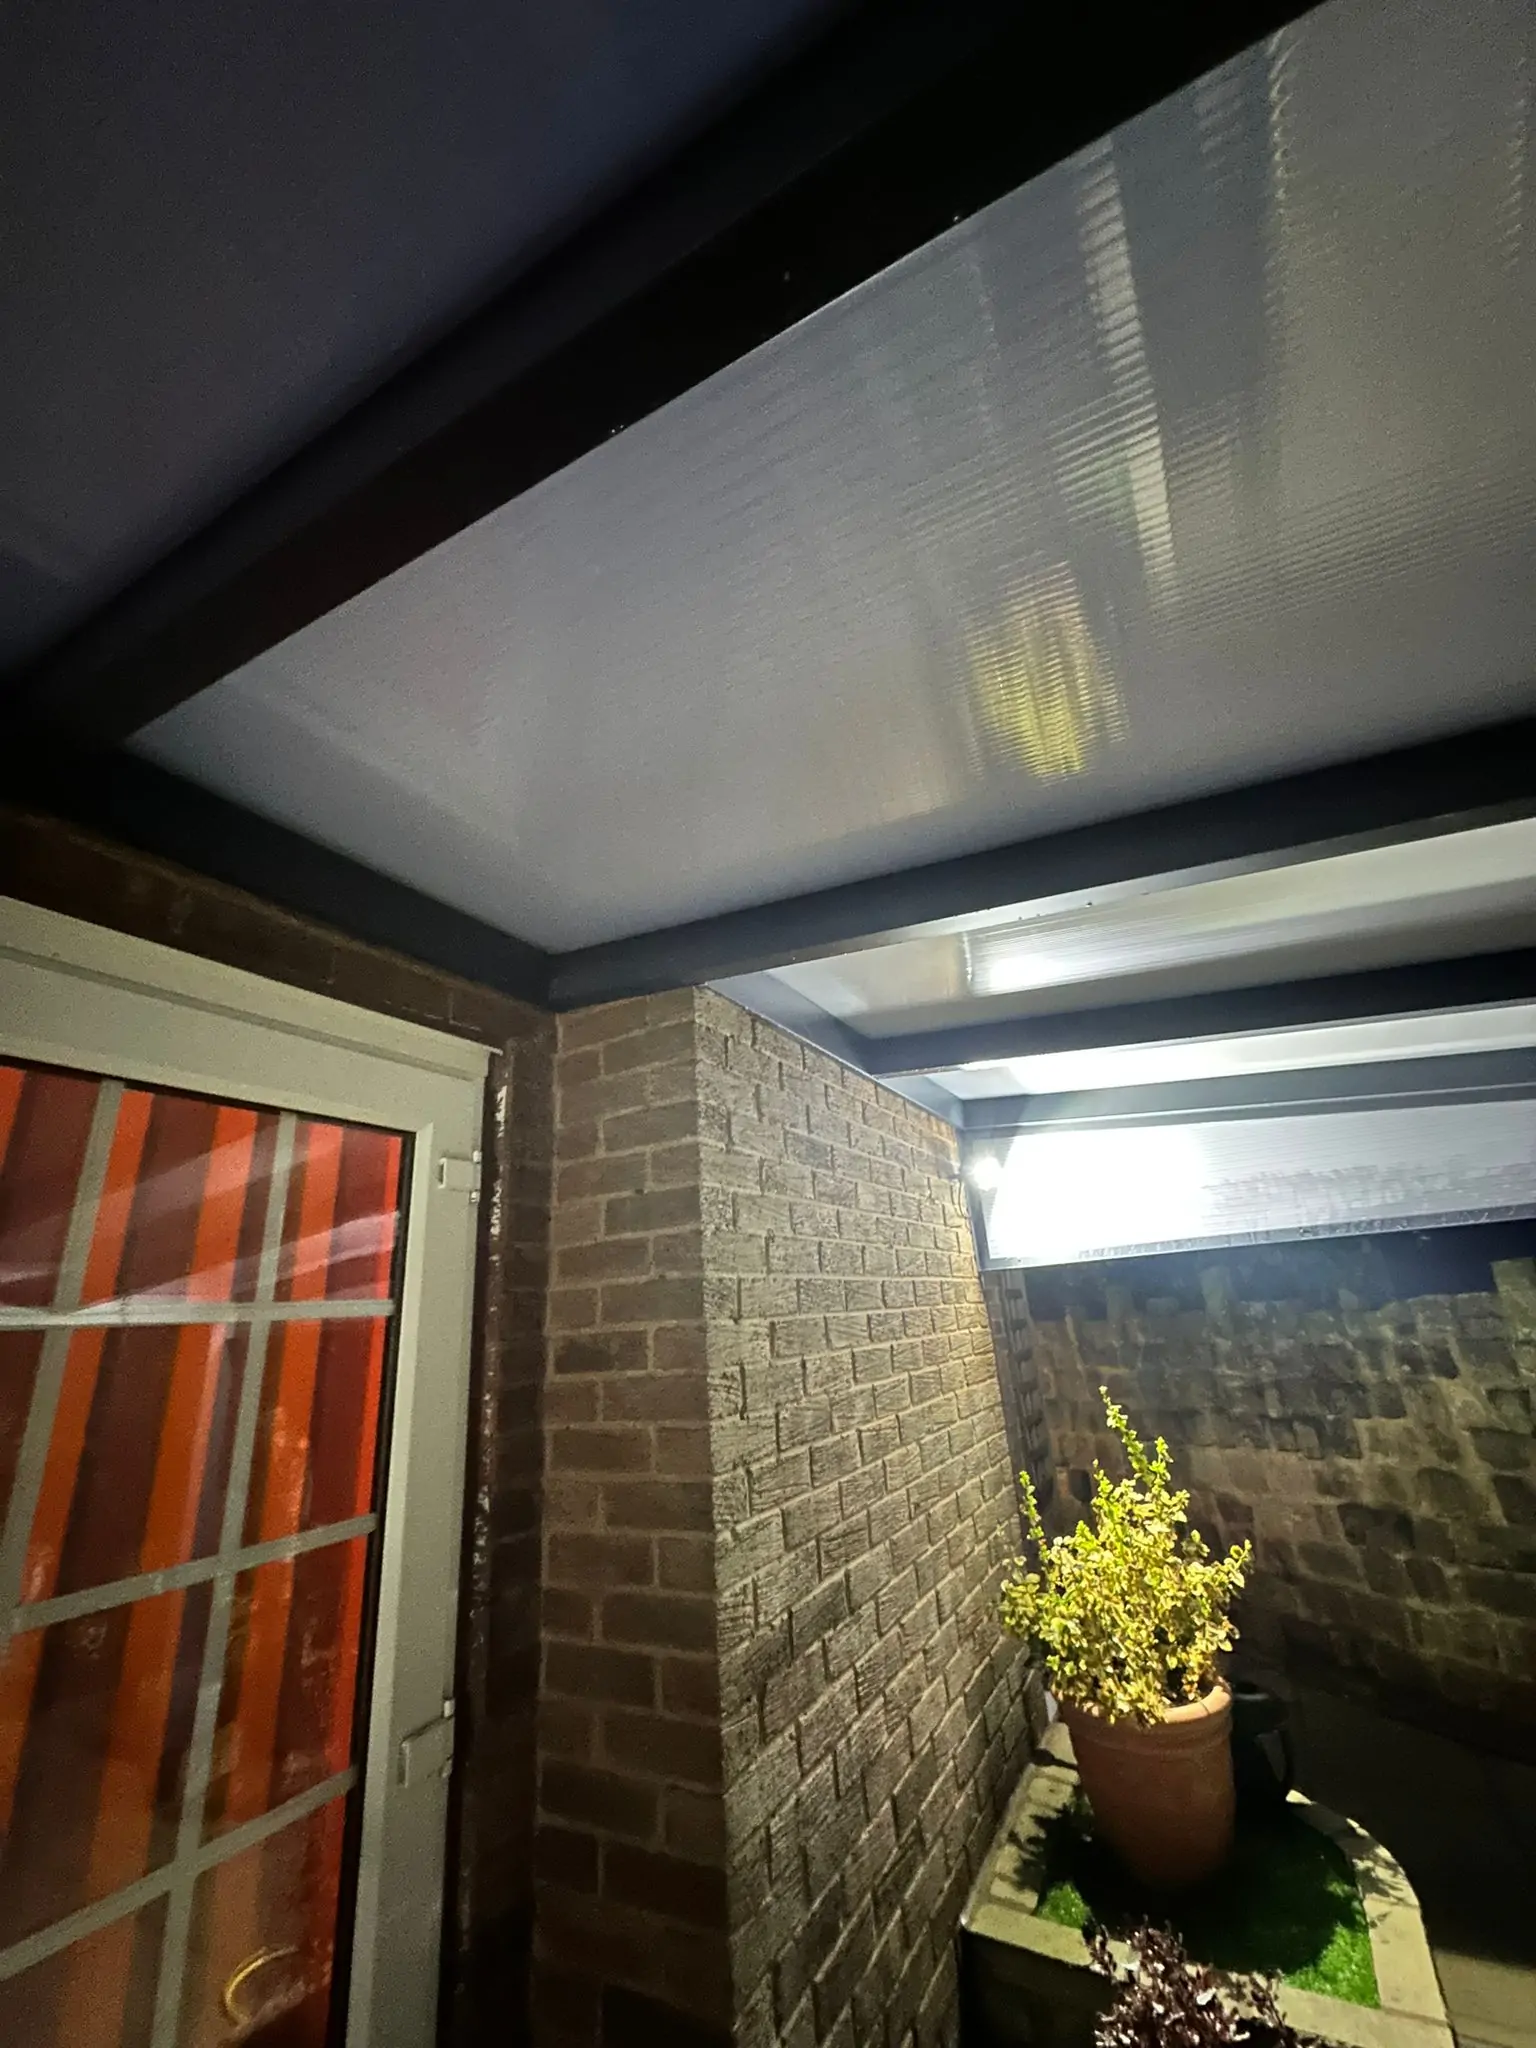
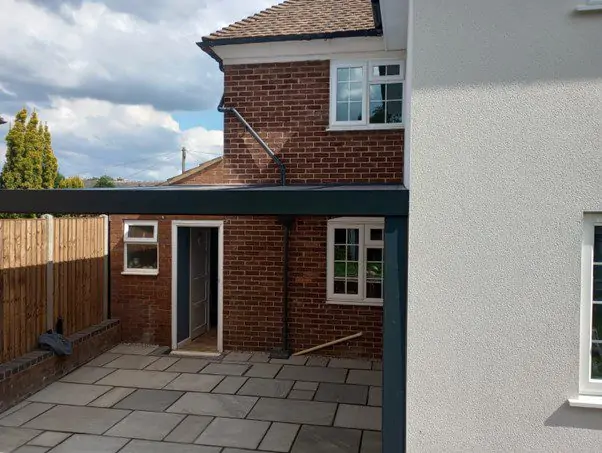
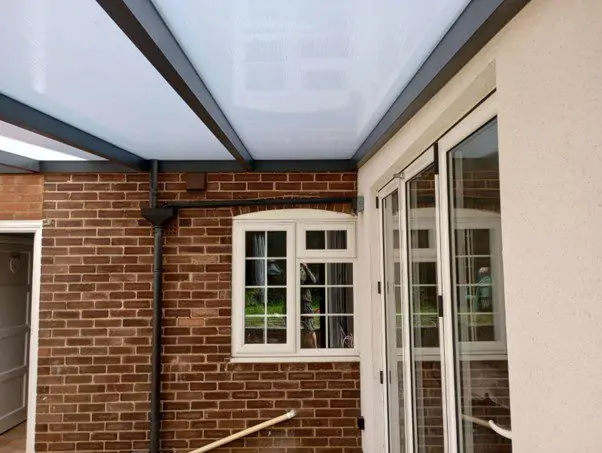
For boiler flues and drainage pipes, it works exactly the same as the acrylic, without the need for a glazing split. Provided they can fit the wall-plate around it – something that would be determined during a survey – the installation team simply cuts a hole in the polycarbonate for the pipe to run through. If there isn’t a straight run along the back wall, whether that’s an L-bend or an abnormal shape, the wallplate can be adjusted, within reason, to accommodate these. We always advise considering polycarbonate over glass for these types of installation, as it provides a much cleaner finish and is a more straightforward project overall.
By planning ahead and considering the best materials and methods to address potential obstructions, you can ensure that your veranda installation is smooth and that the final result is both functional and visually appealing. Whether dealing with boiler vents, wood-burning fires, or unique architectural features, the right approach will help you create a beautiful and practical outdoor space.
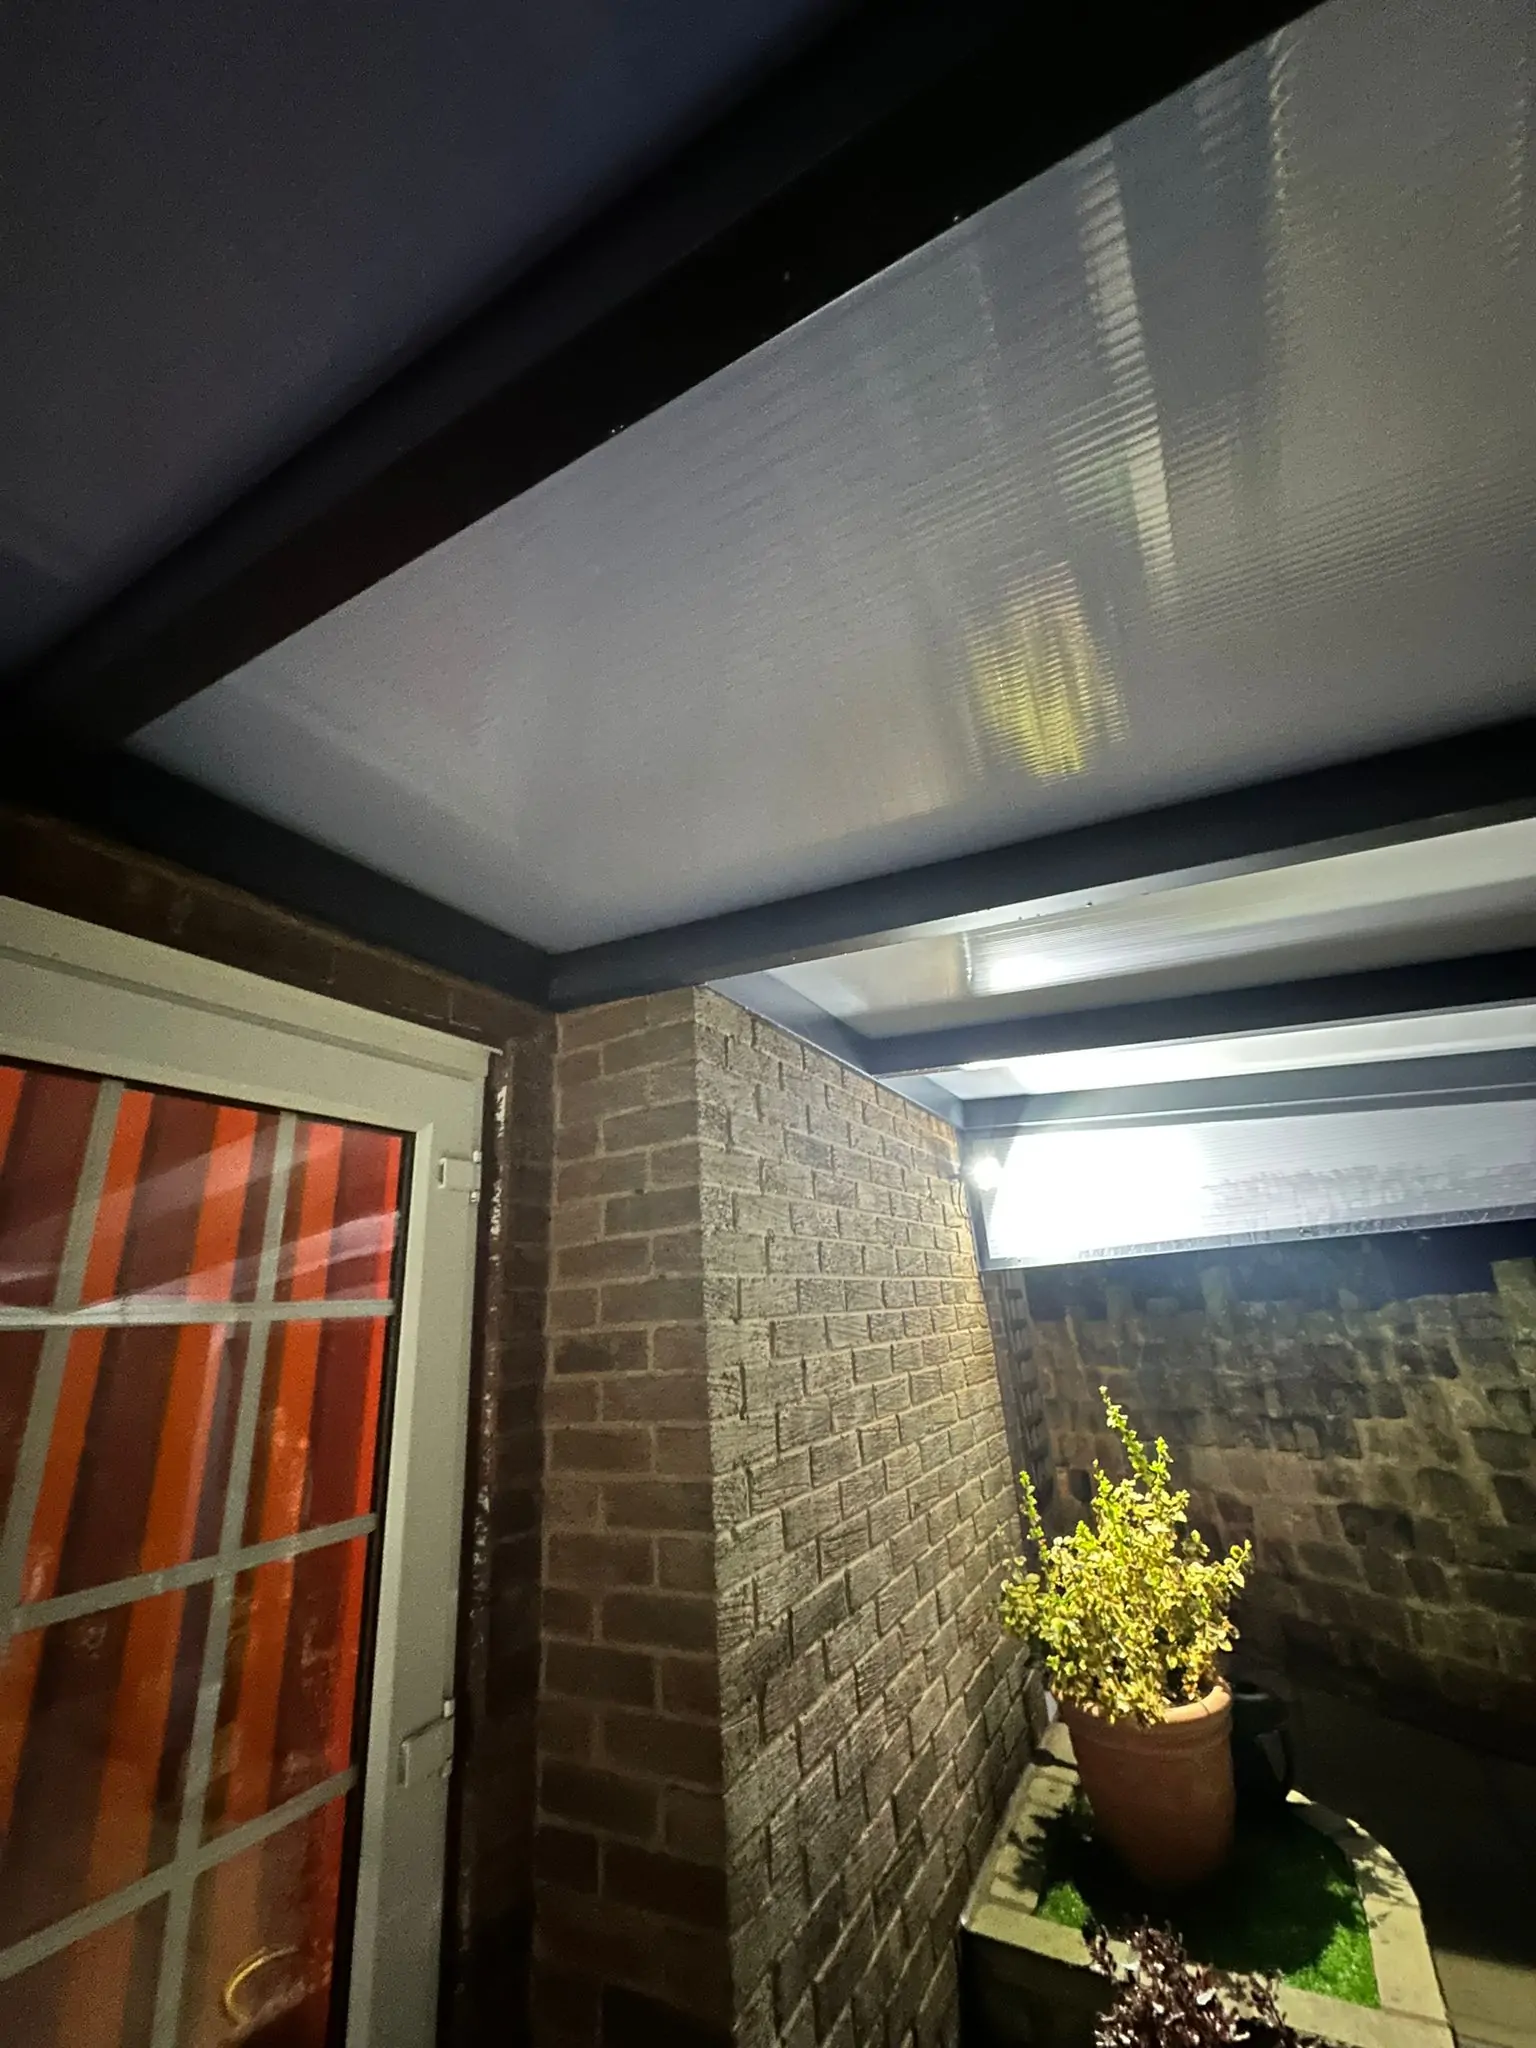
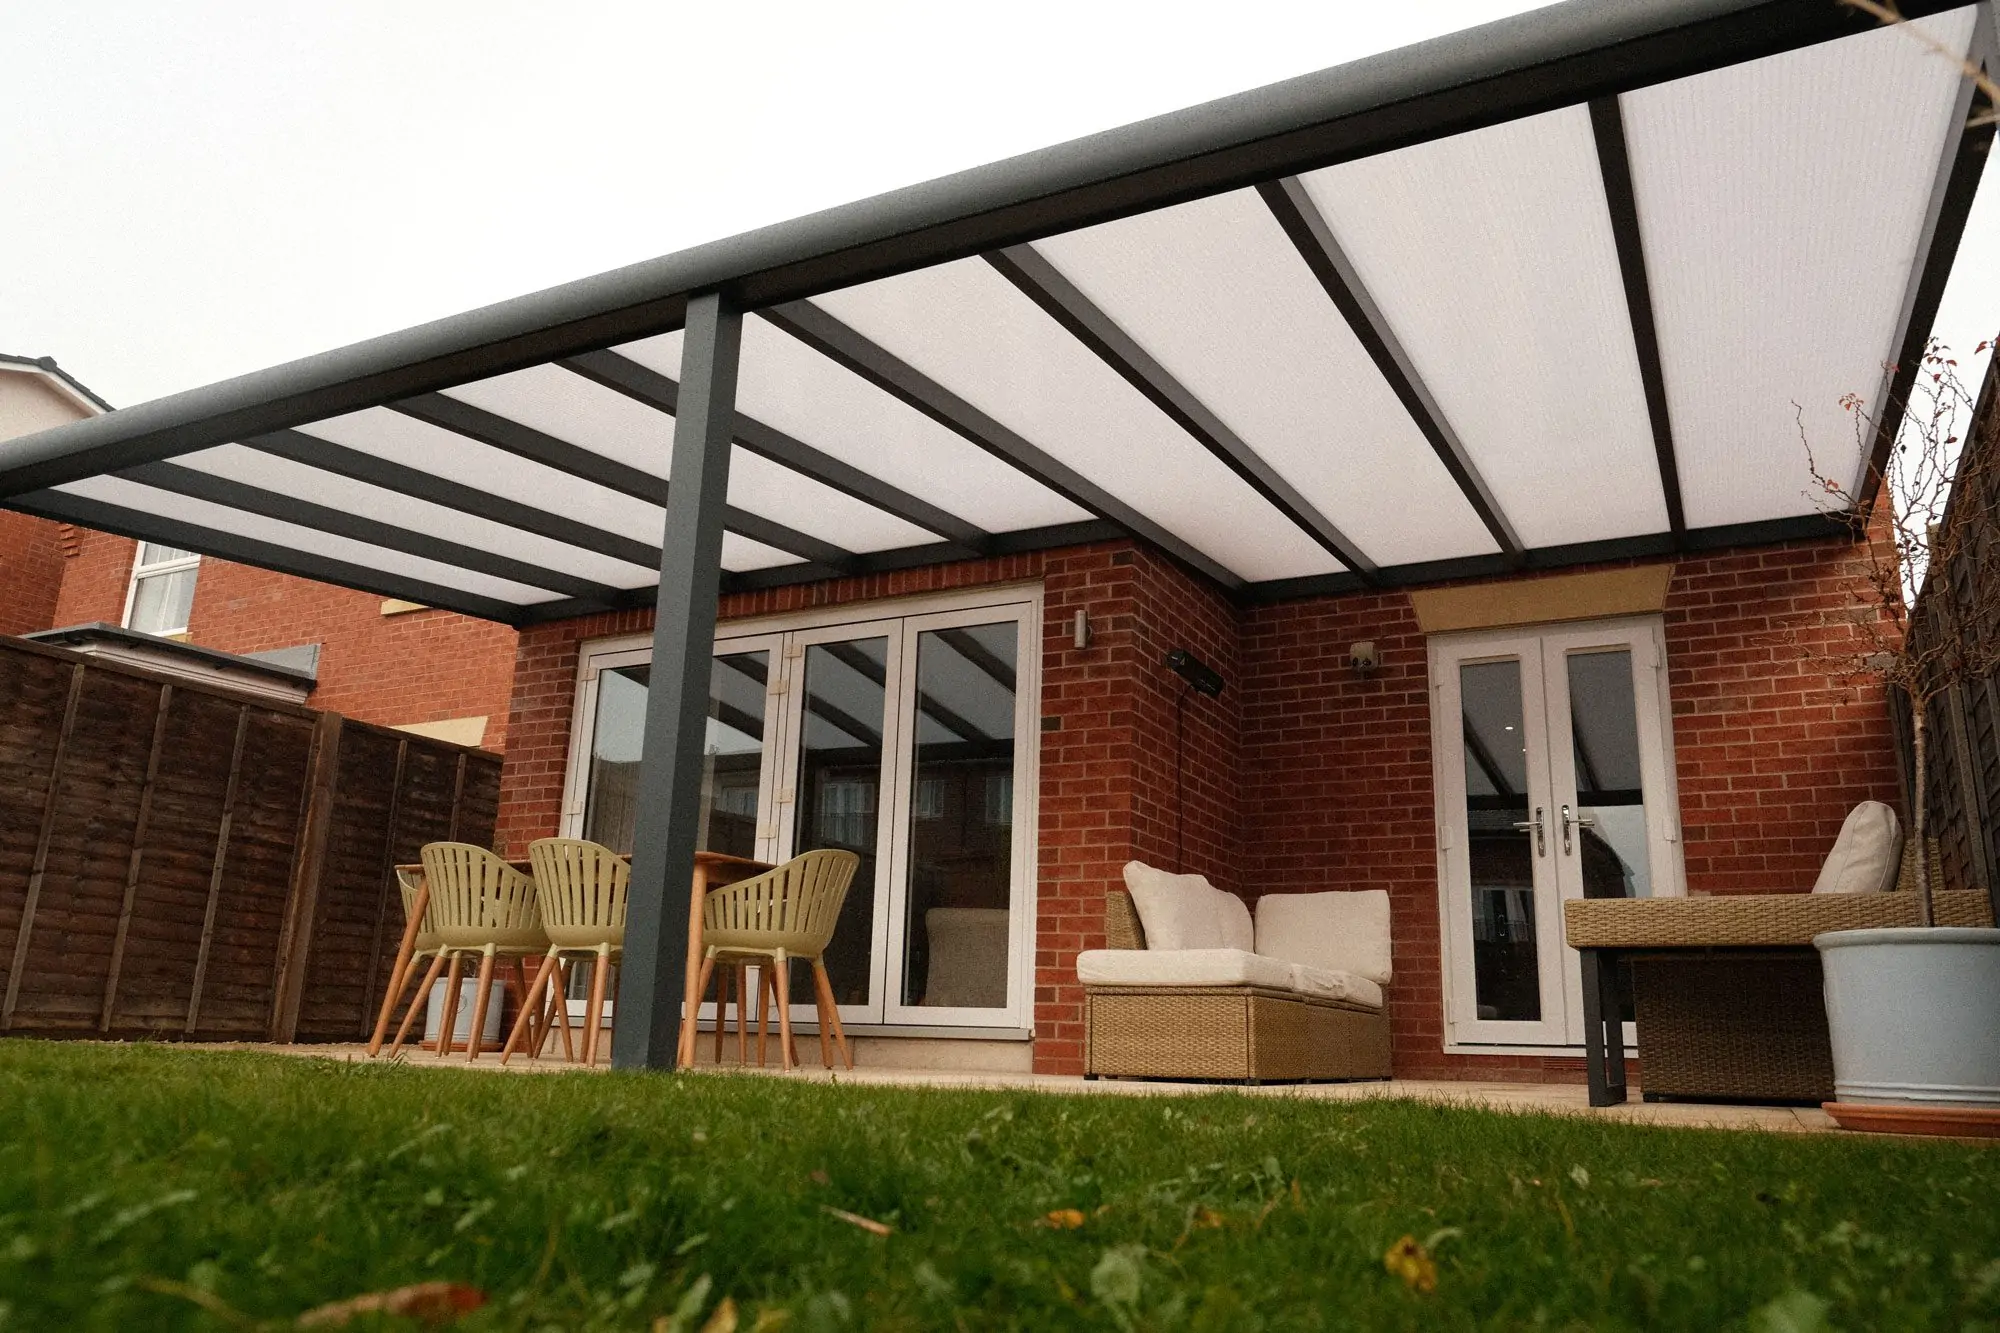
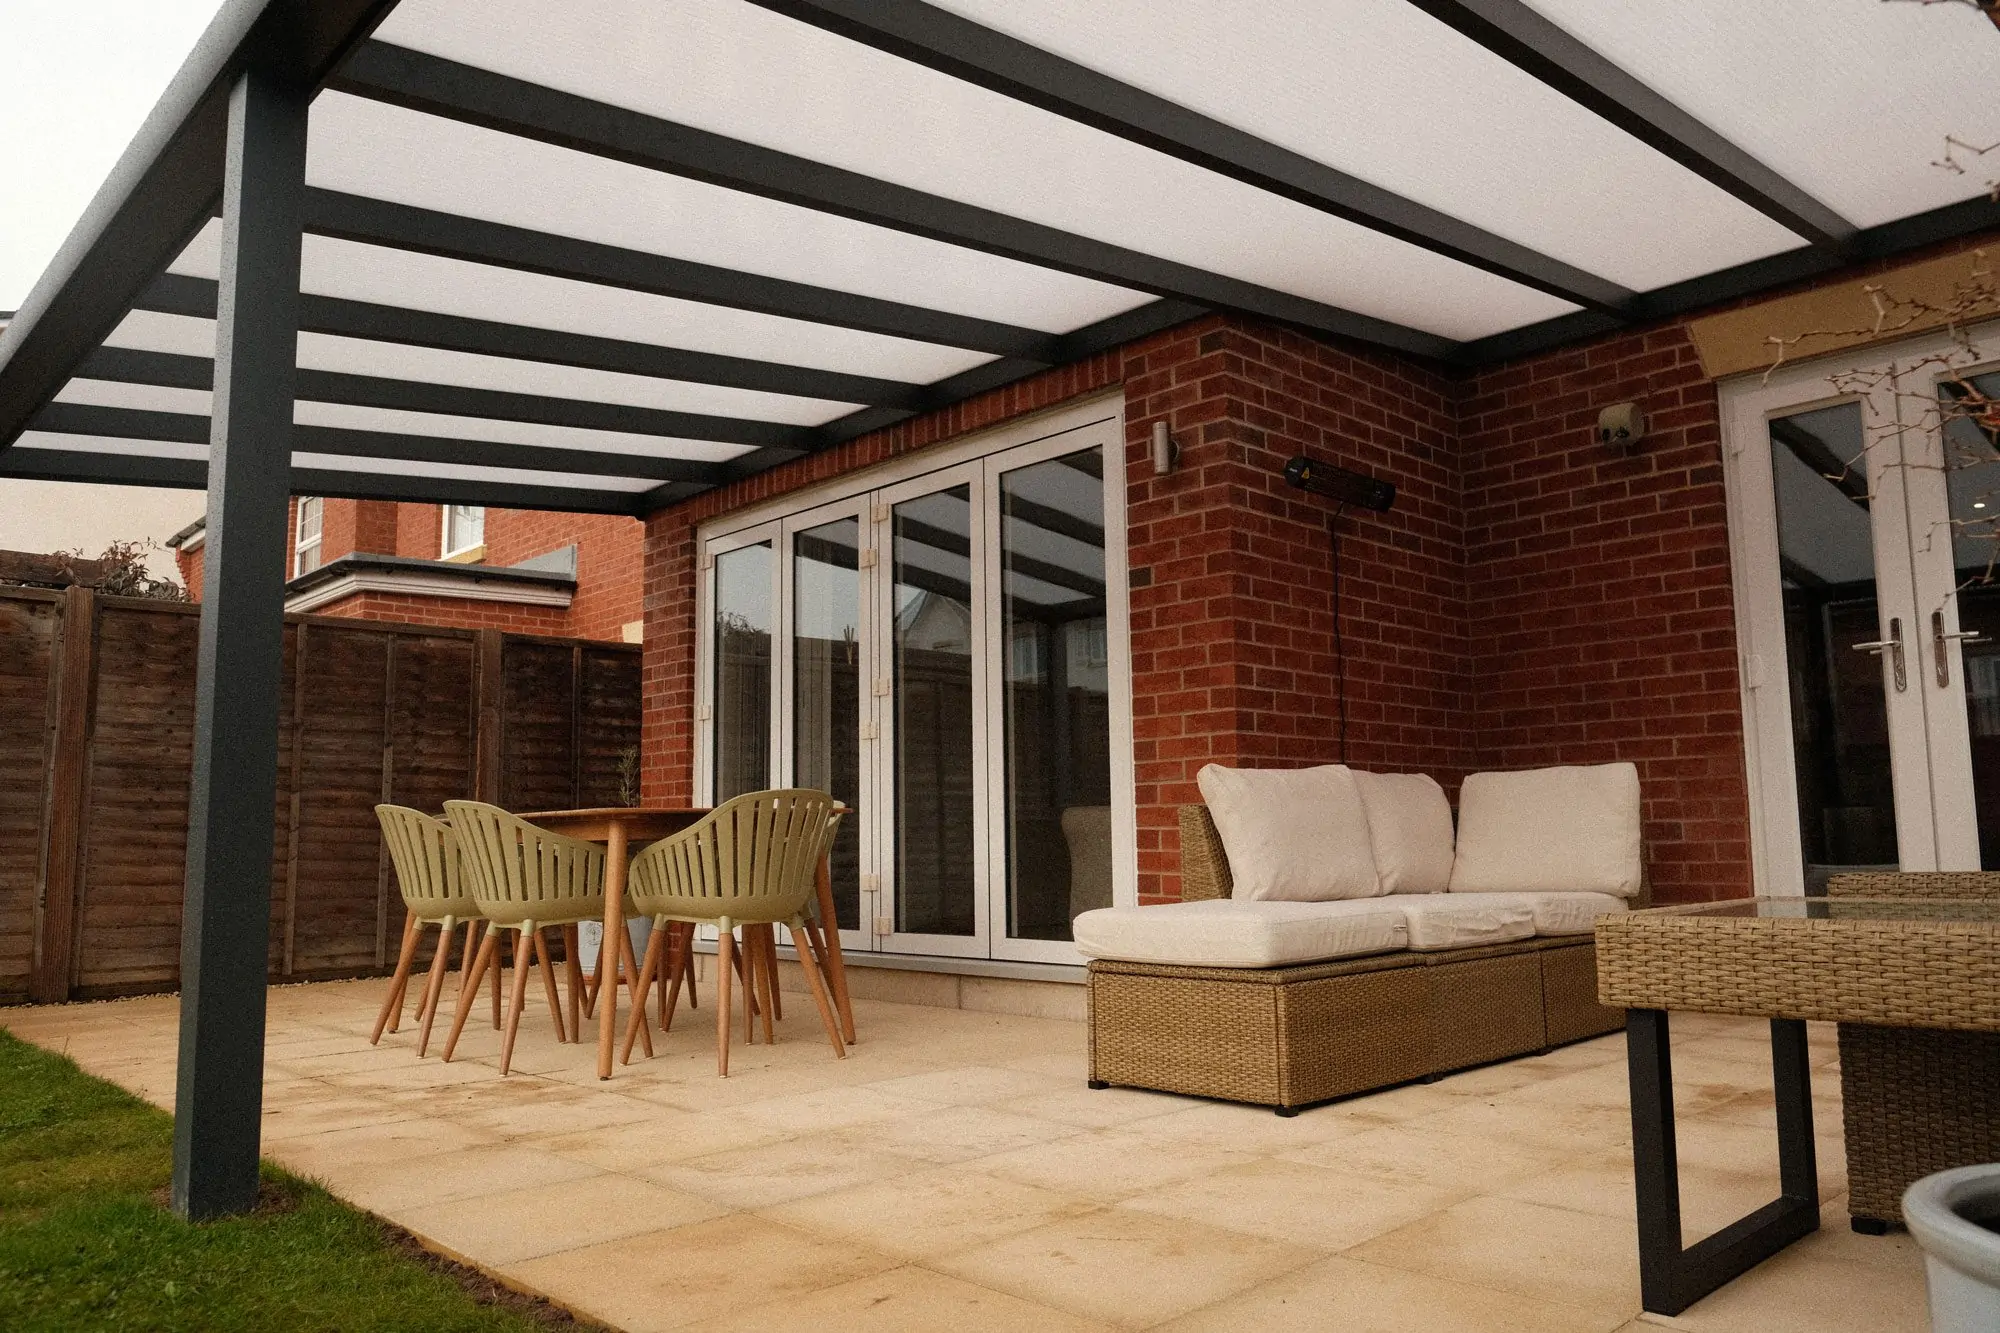
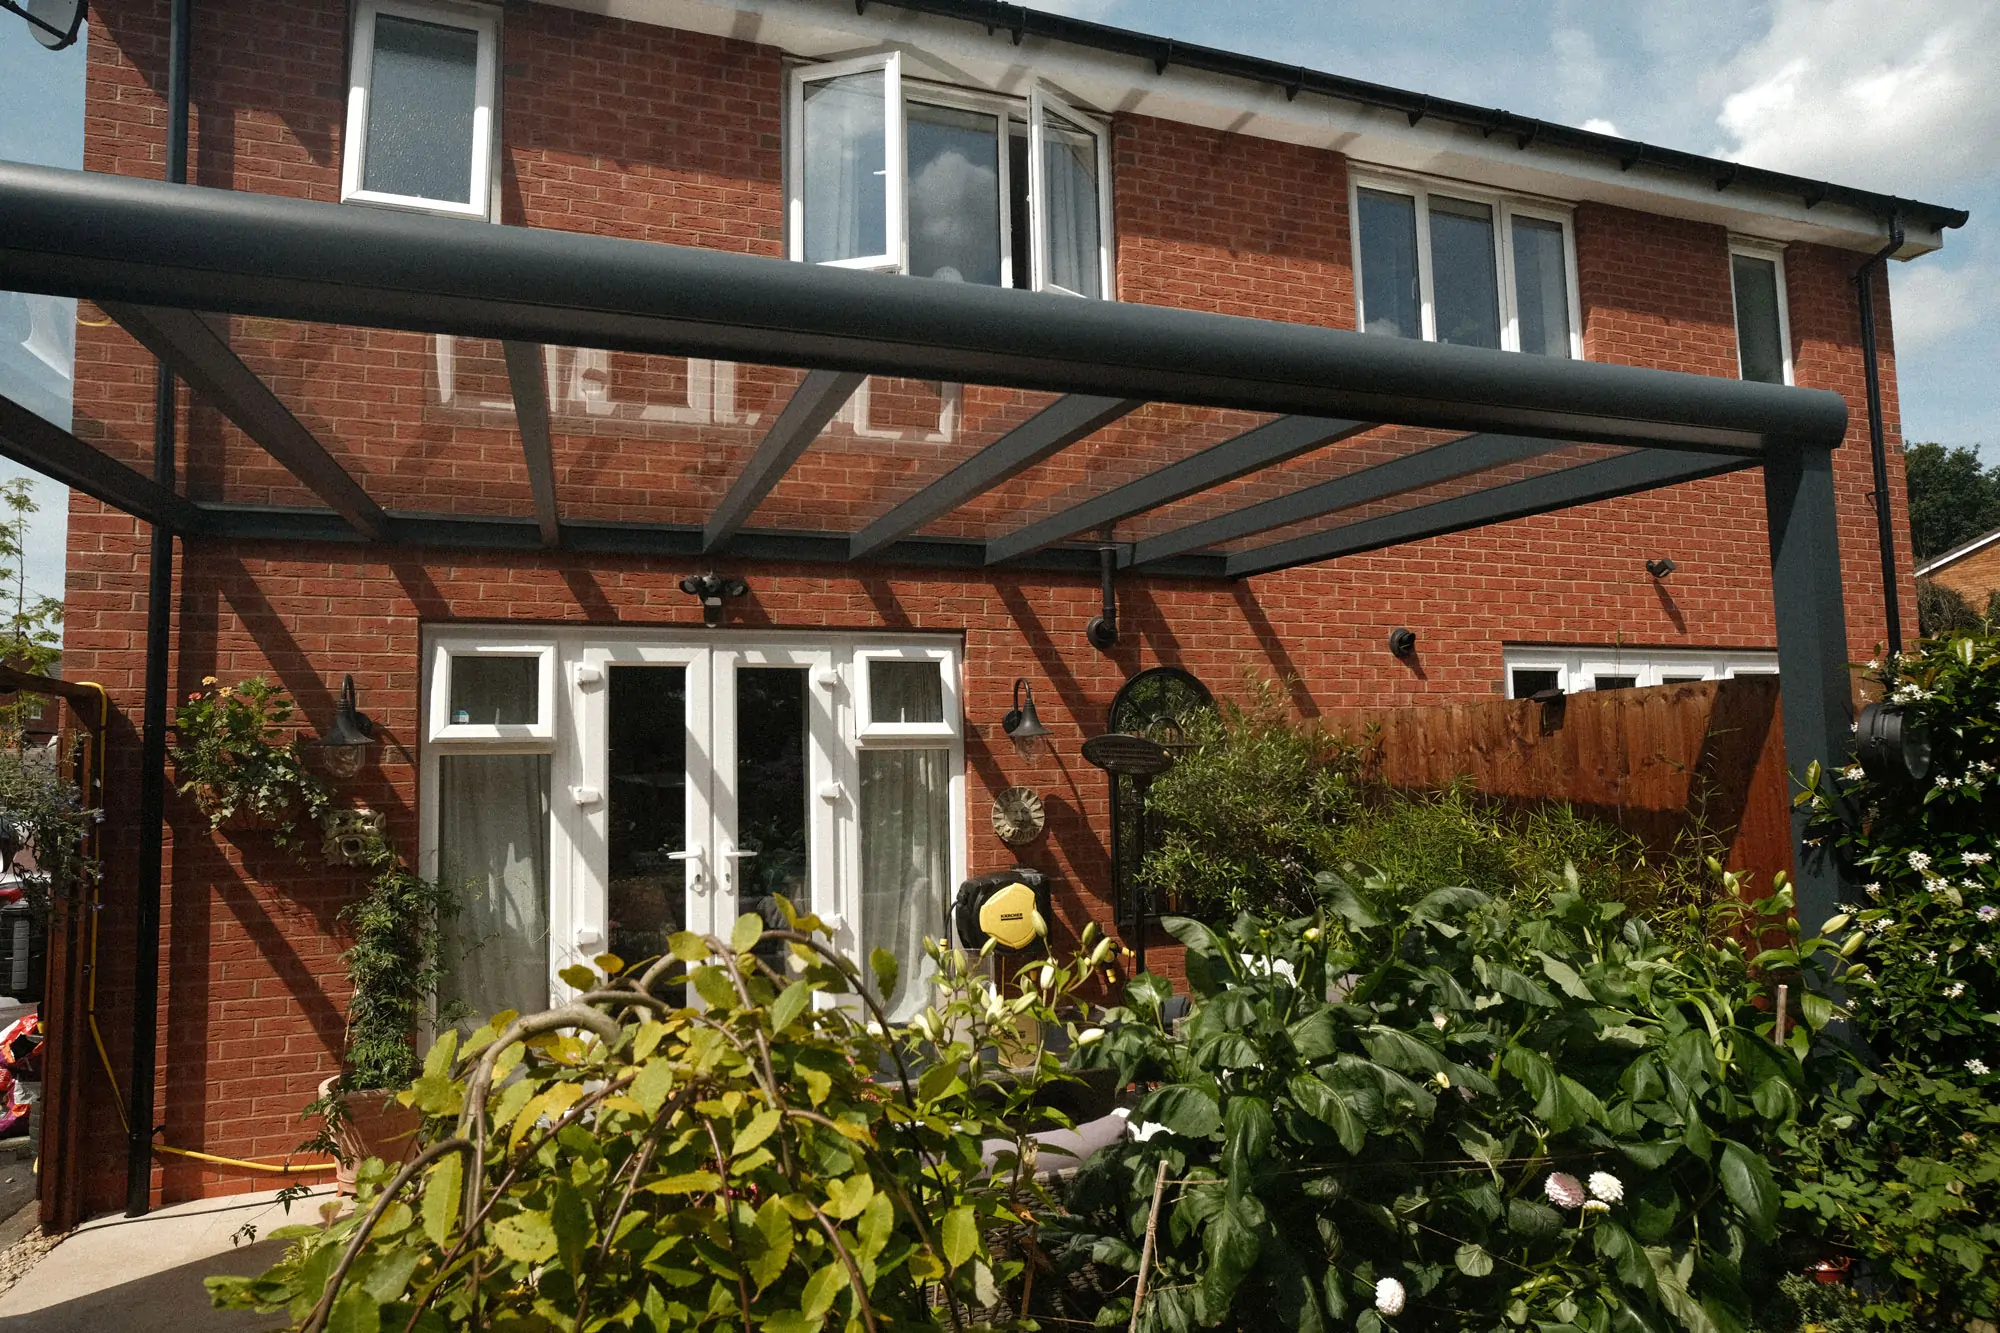
Here’s a few image from different projects that showcase what we’ve discussed:
Got questions? Here are a few of our most frequently asked!
How does it work with glass?
A glazing split only requires a glazing joiner and a section of acrylic glass. This will always be the same thickness as the laminate glass, and there will be no real difference between the two in terms of clarity. The glazing bar connects the two together between the beams, and provides a level of compression to minimise any movement.
How large does the glazing join have to be?
The glazing join only needs to sufficiently accommodate the obstruction or feature. For the smaller features, such as boiler extension flues, we would say no more than around 30cm to 40cm should be sufficient.
How does polycarbonate incorporate extension flues and other obstructions?
The installation team will cut directly into the polycarbonate sheet, either shortening it to accommodate a larger obstruction or, in the case of smaller flues like those used in boiler extension kits, cutting a smaller hole for it to pass through.
How do you seal it, or minimise the risk to water ingress?
We use a silicone seal at the top and bottom of the cut, sealing it around the flue, or the soil pipe. Smaller flues, such as those used in boiler extension kits, can also have a pipe collar added to further minimise potential water ingress.
Will it stand out?
The aluminium glazing bar will be RAL-matched to the colour of your veranda framework, and we will make the acrylic glass section as small as possible to minimise the effect on the overall aesthetic. Installing a pipe collar may also help improve the aesthetic by hiding the sealant line around the underside of the cut.

